How to: Factory Reset the Epson TM-U220 printer
Reset the printer to factory defaults to wipe any existing configurations.
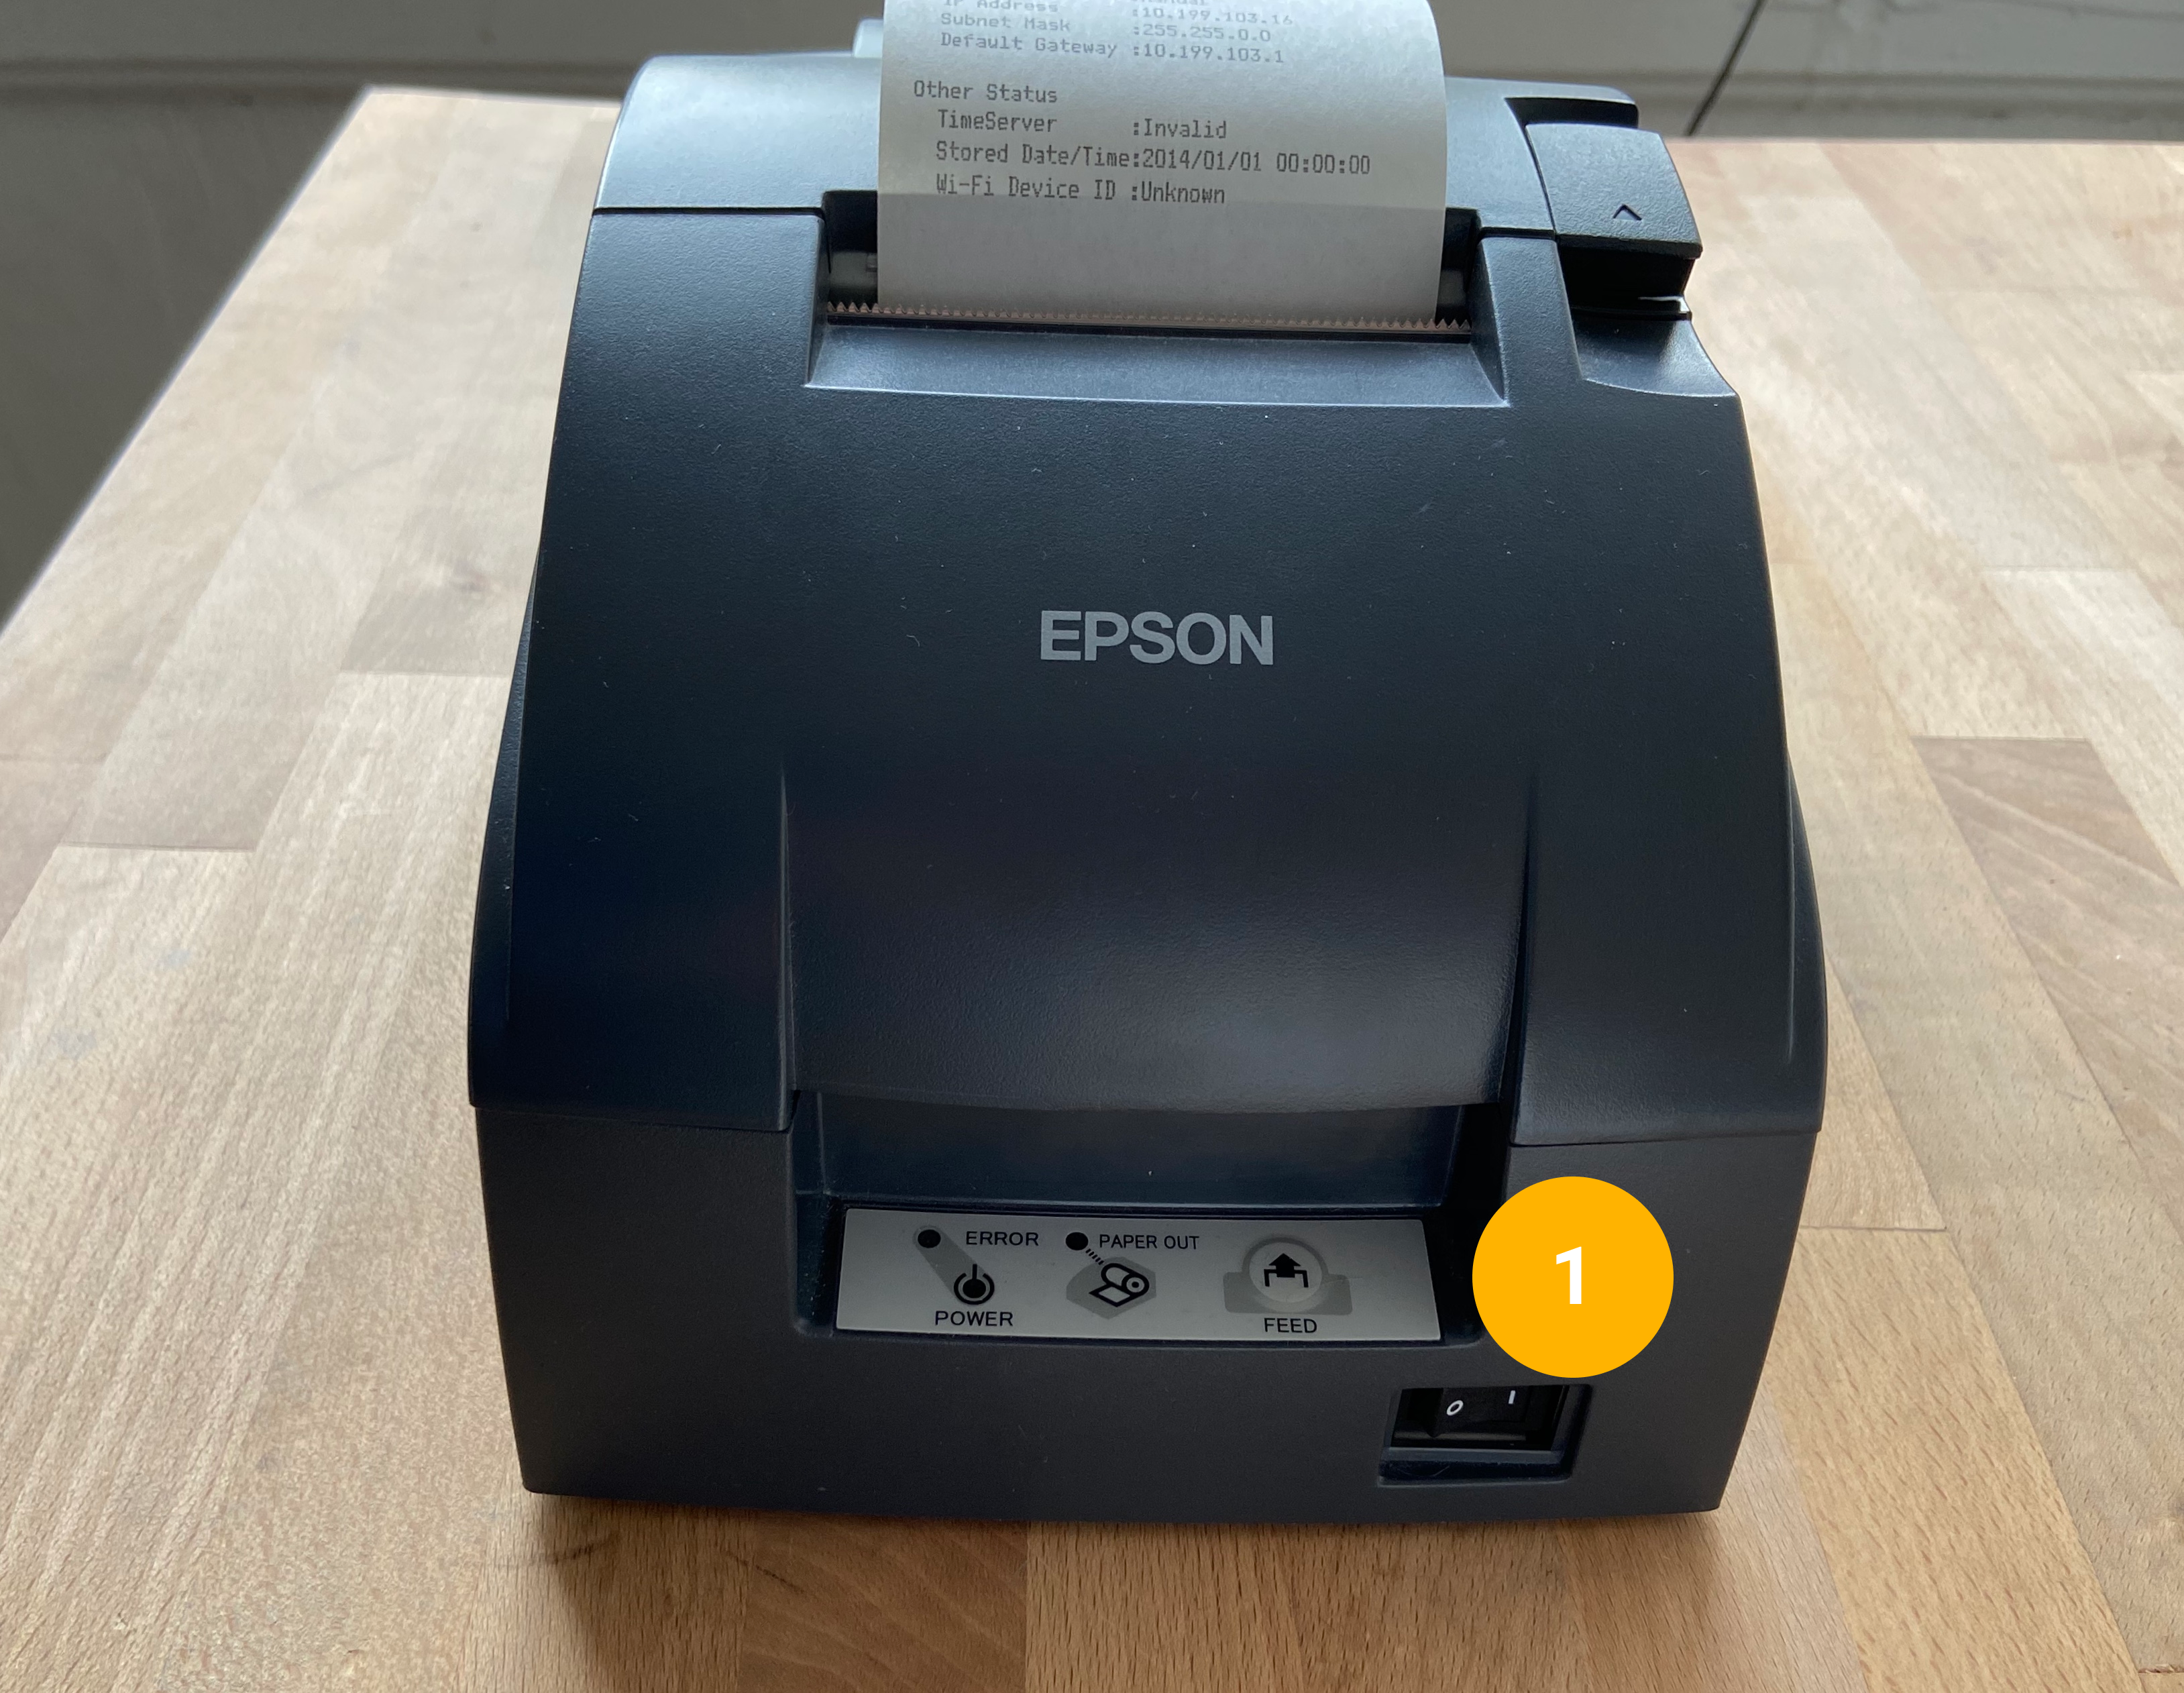
Turn the printer OFF
|  |
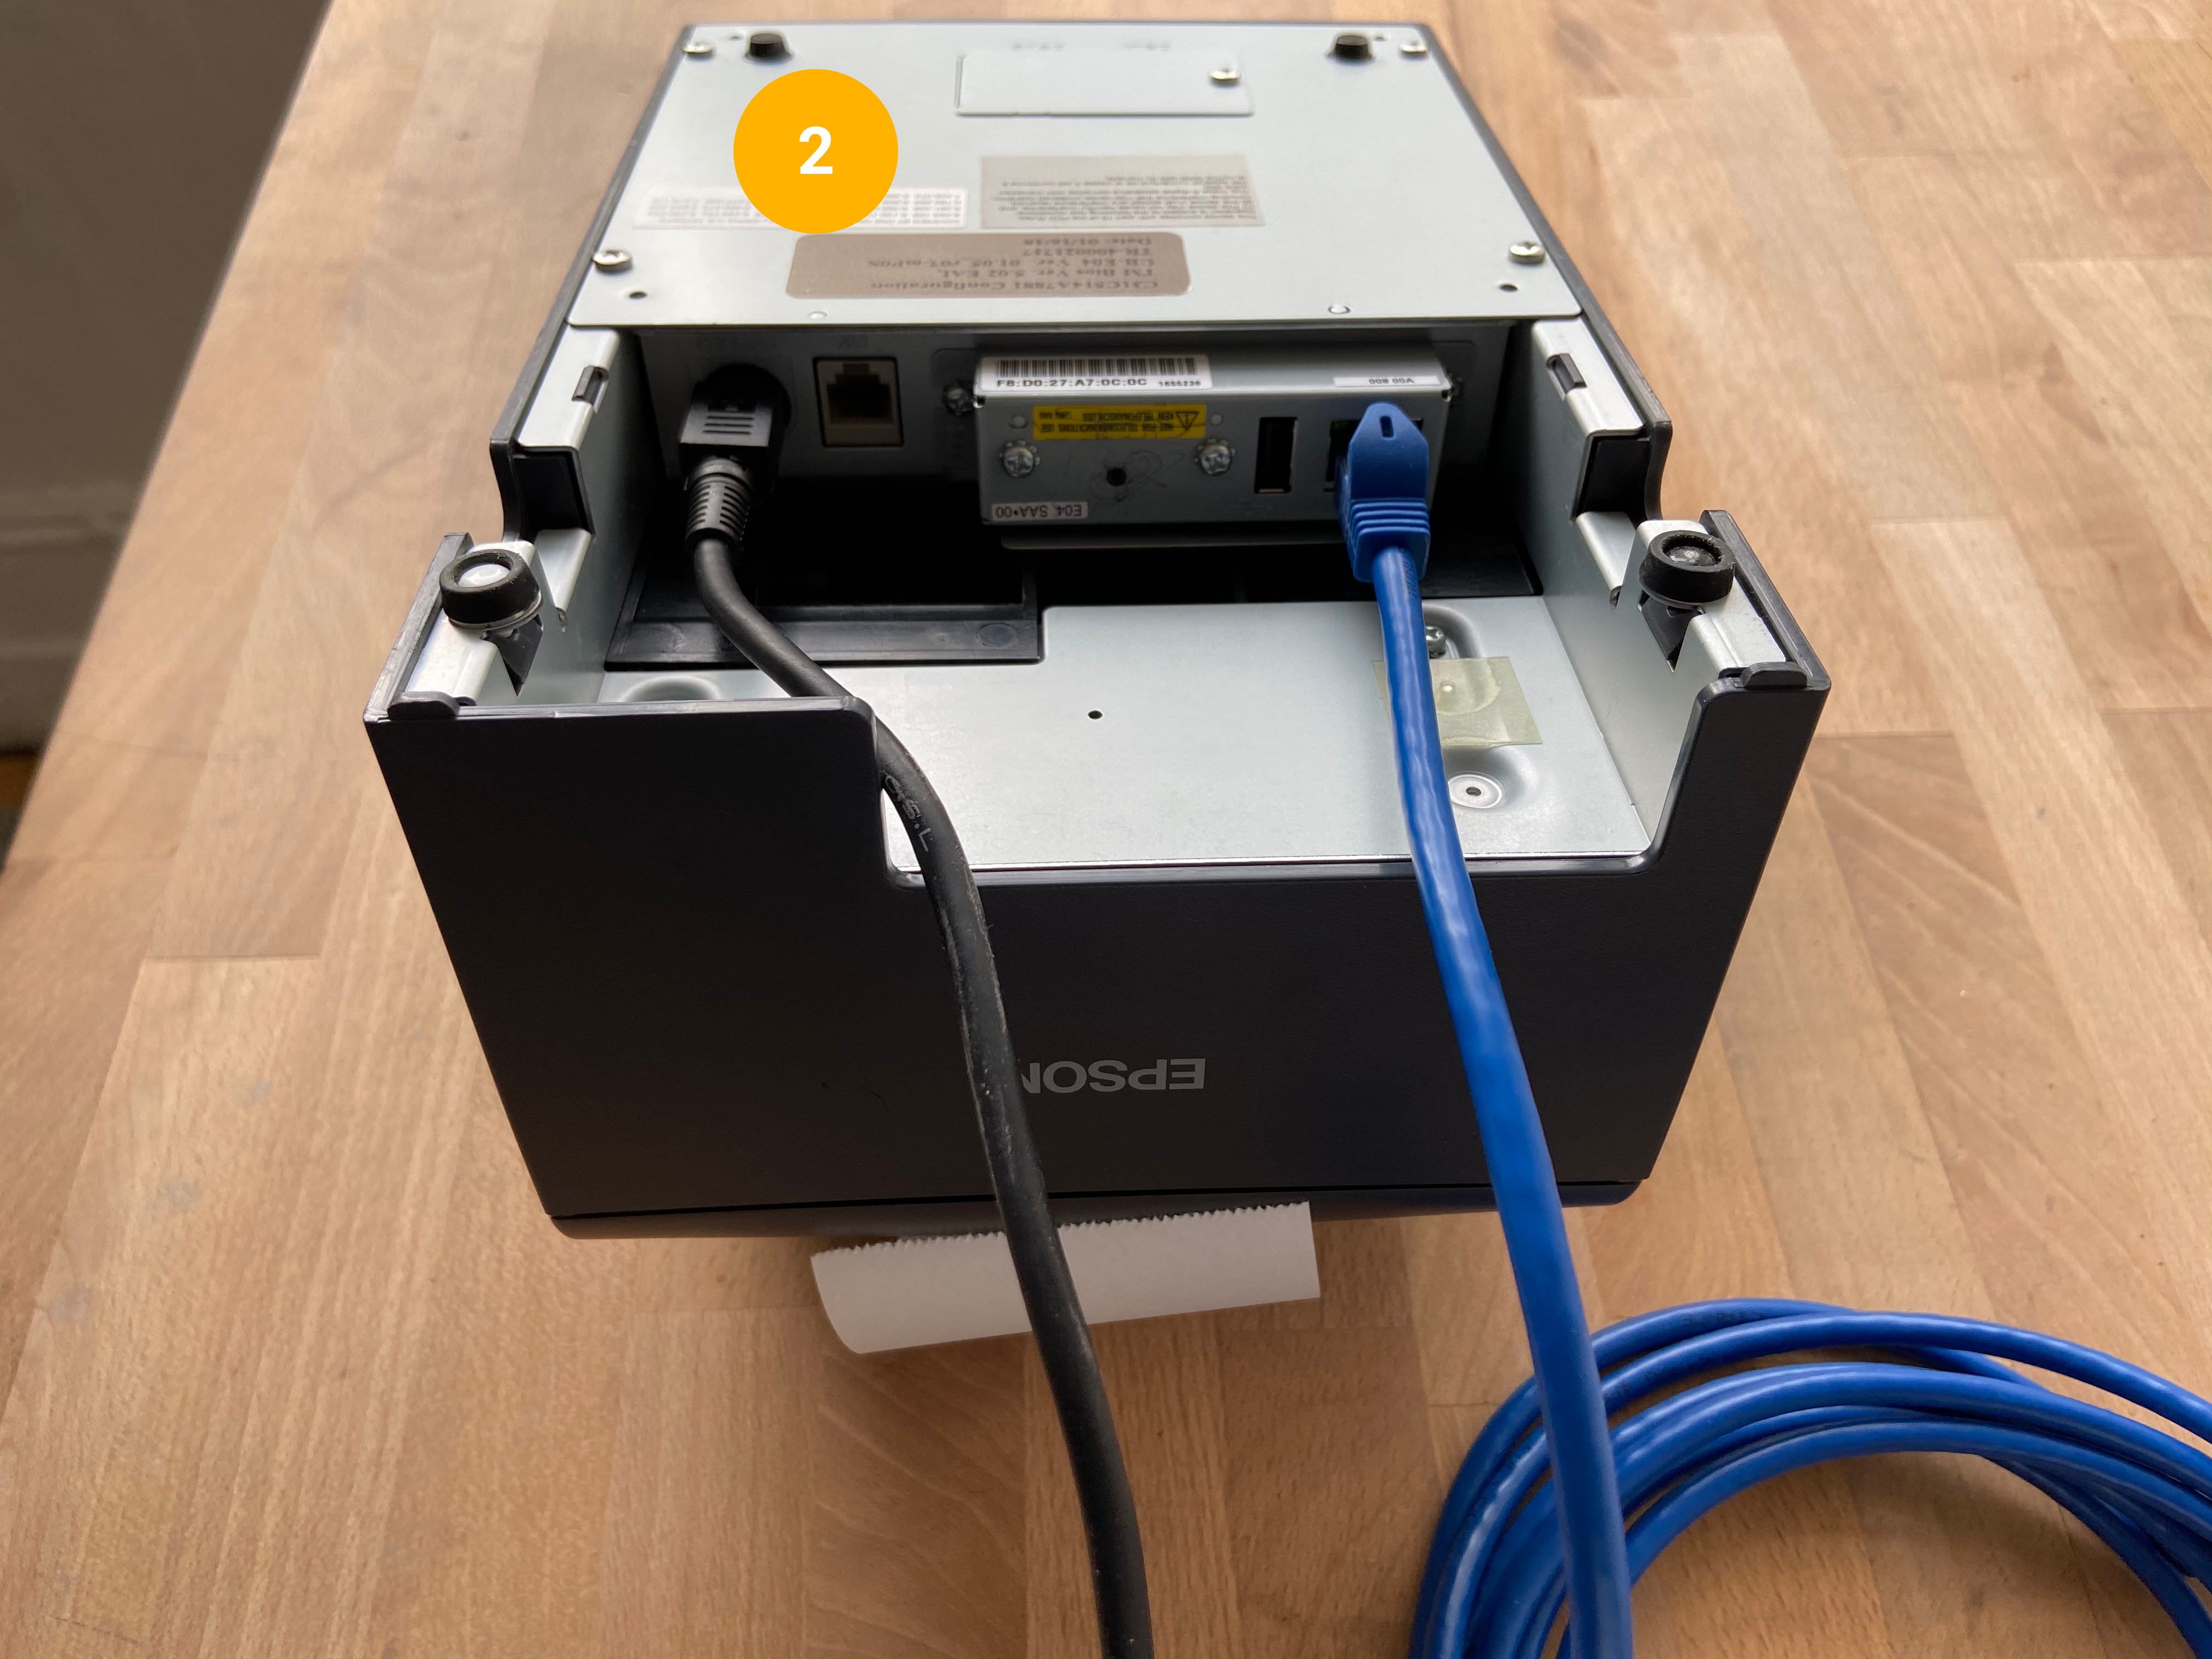
Turn the printer upside down
|  |
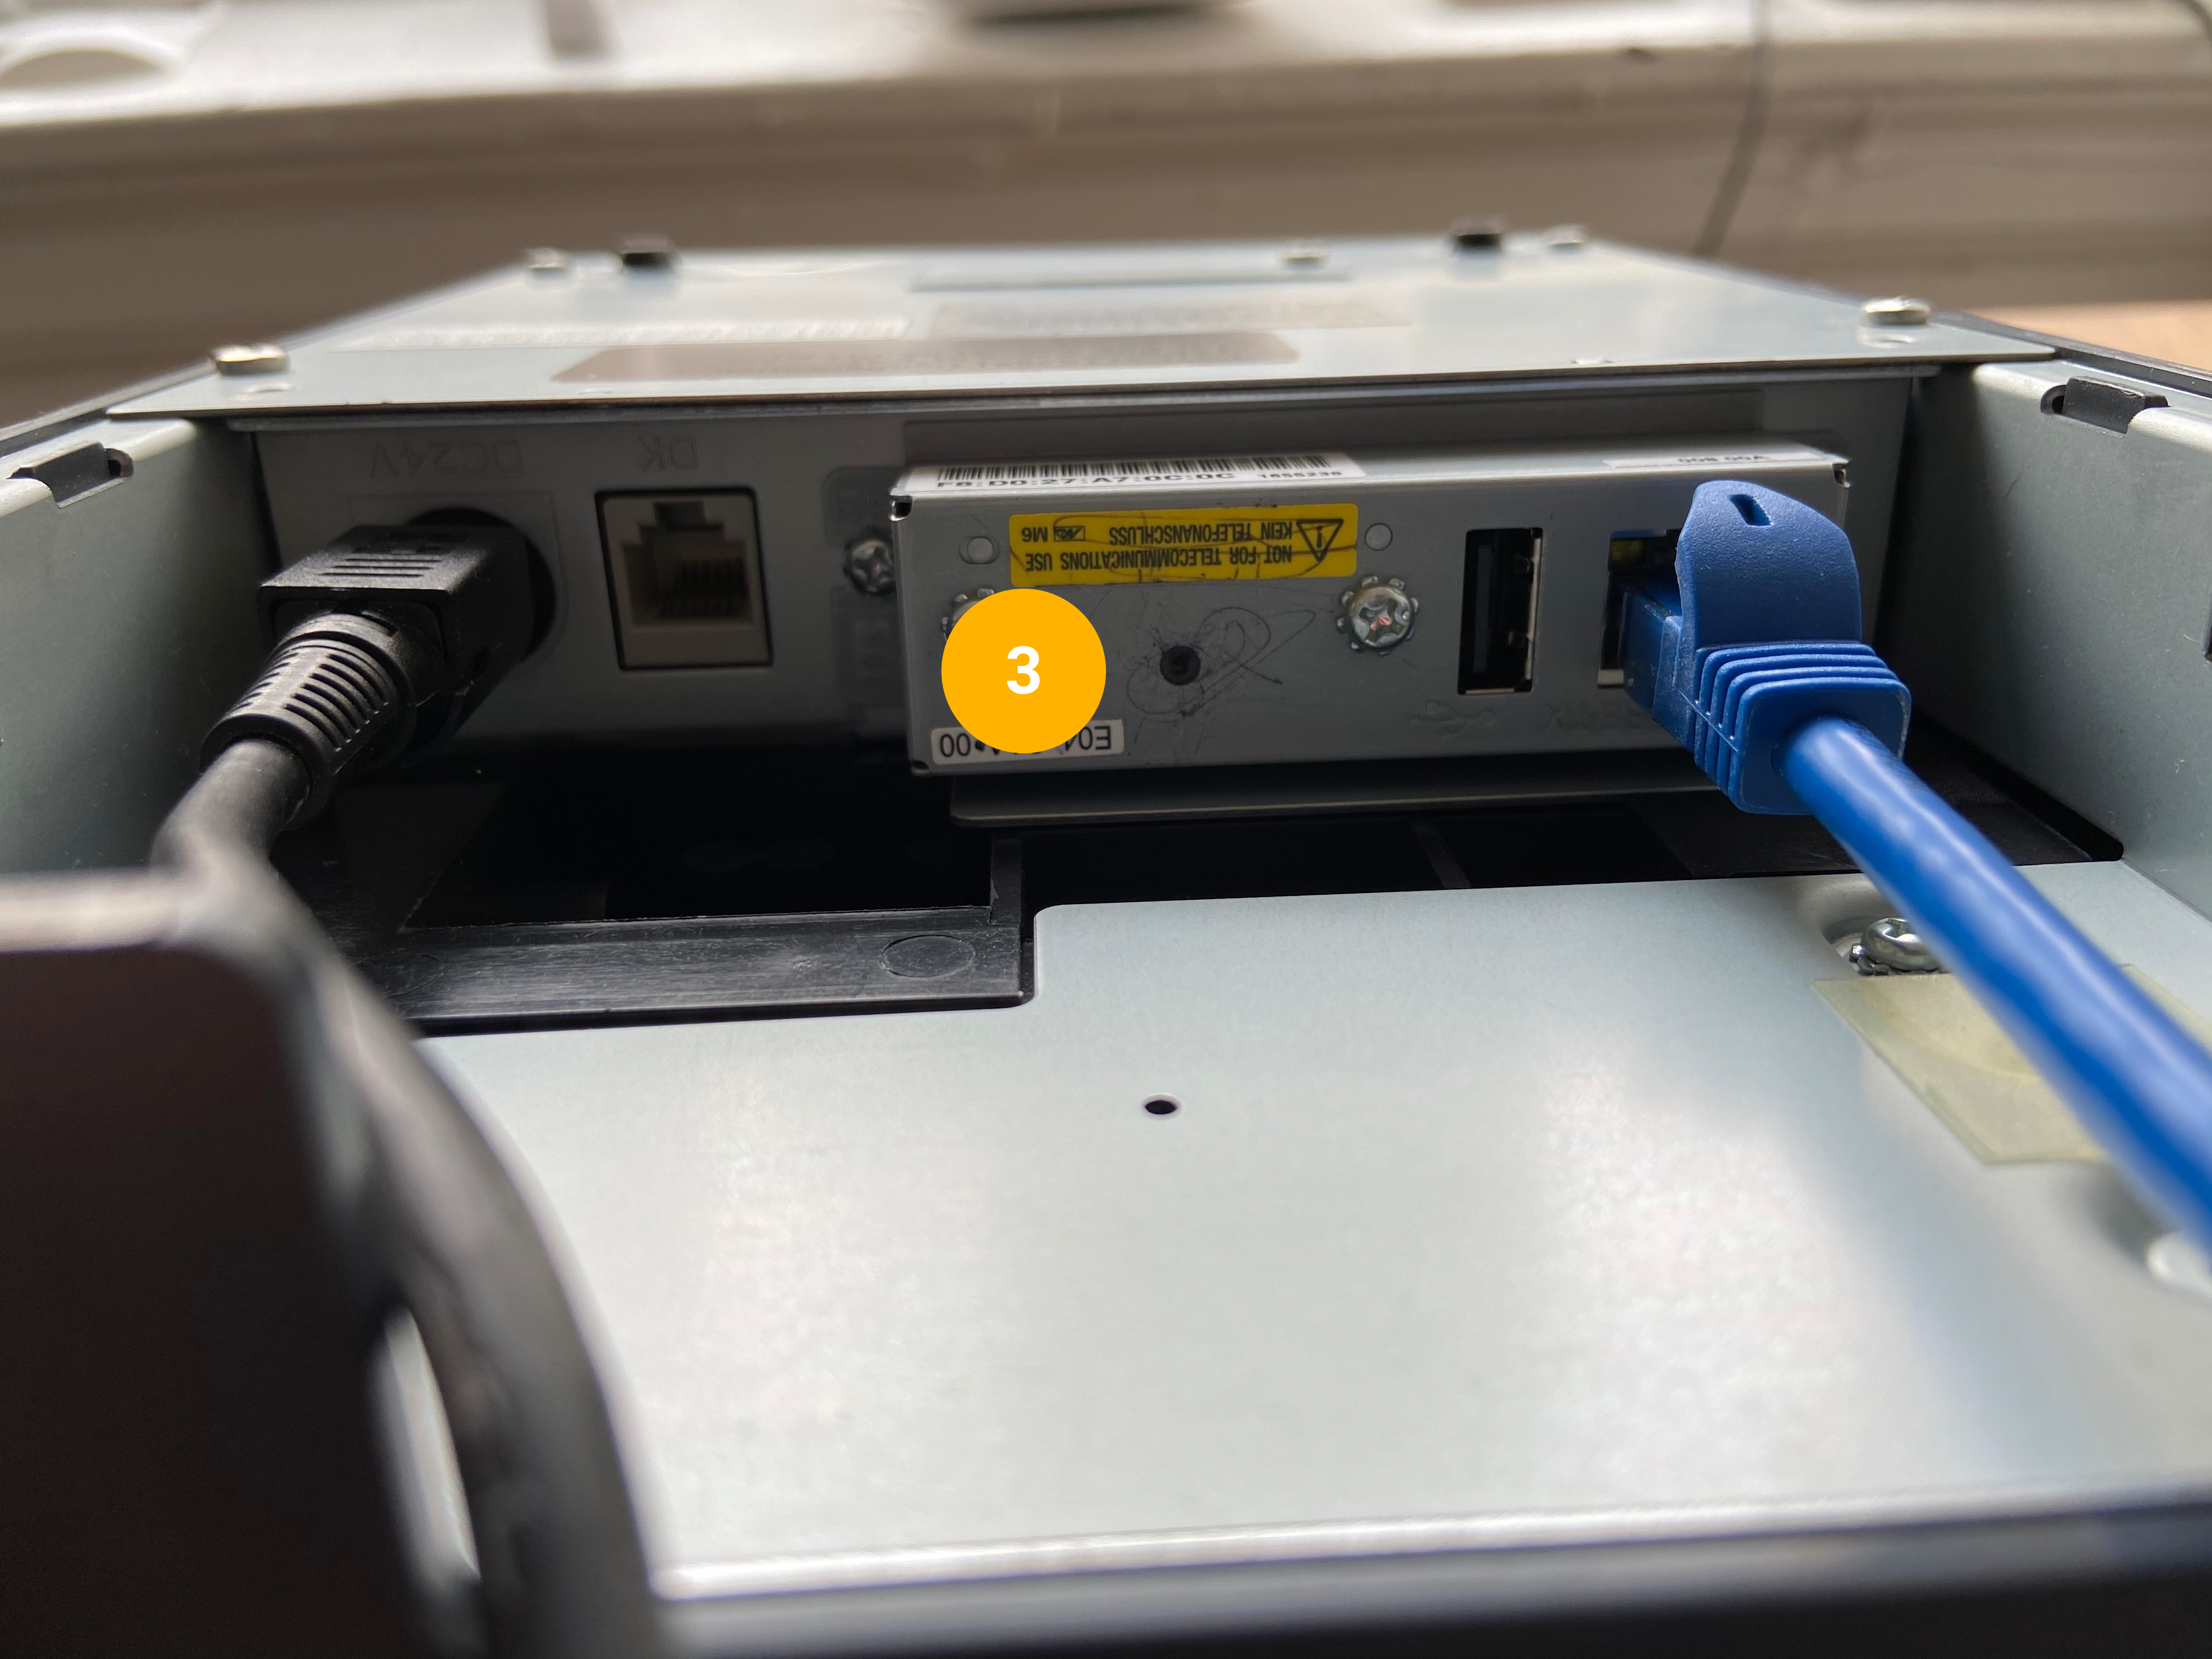
Locate the Network Adapters on the rear underside of the printer. The small black dot below or above the yellow label is the Network Status Button
|  |
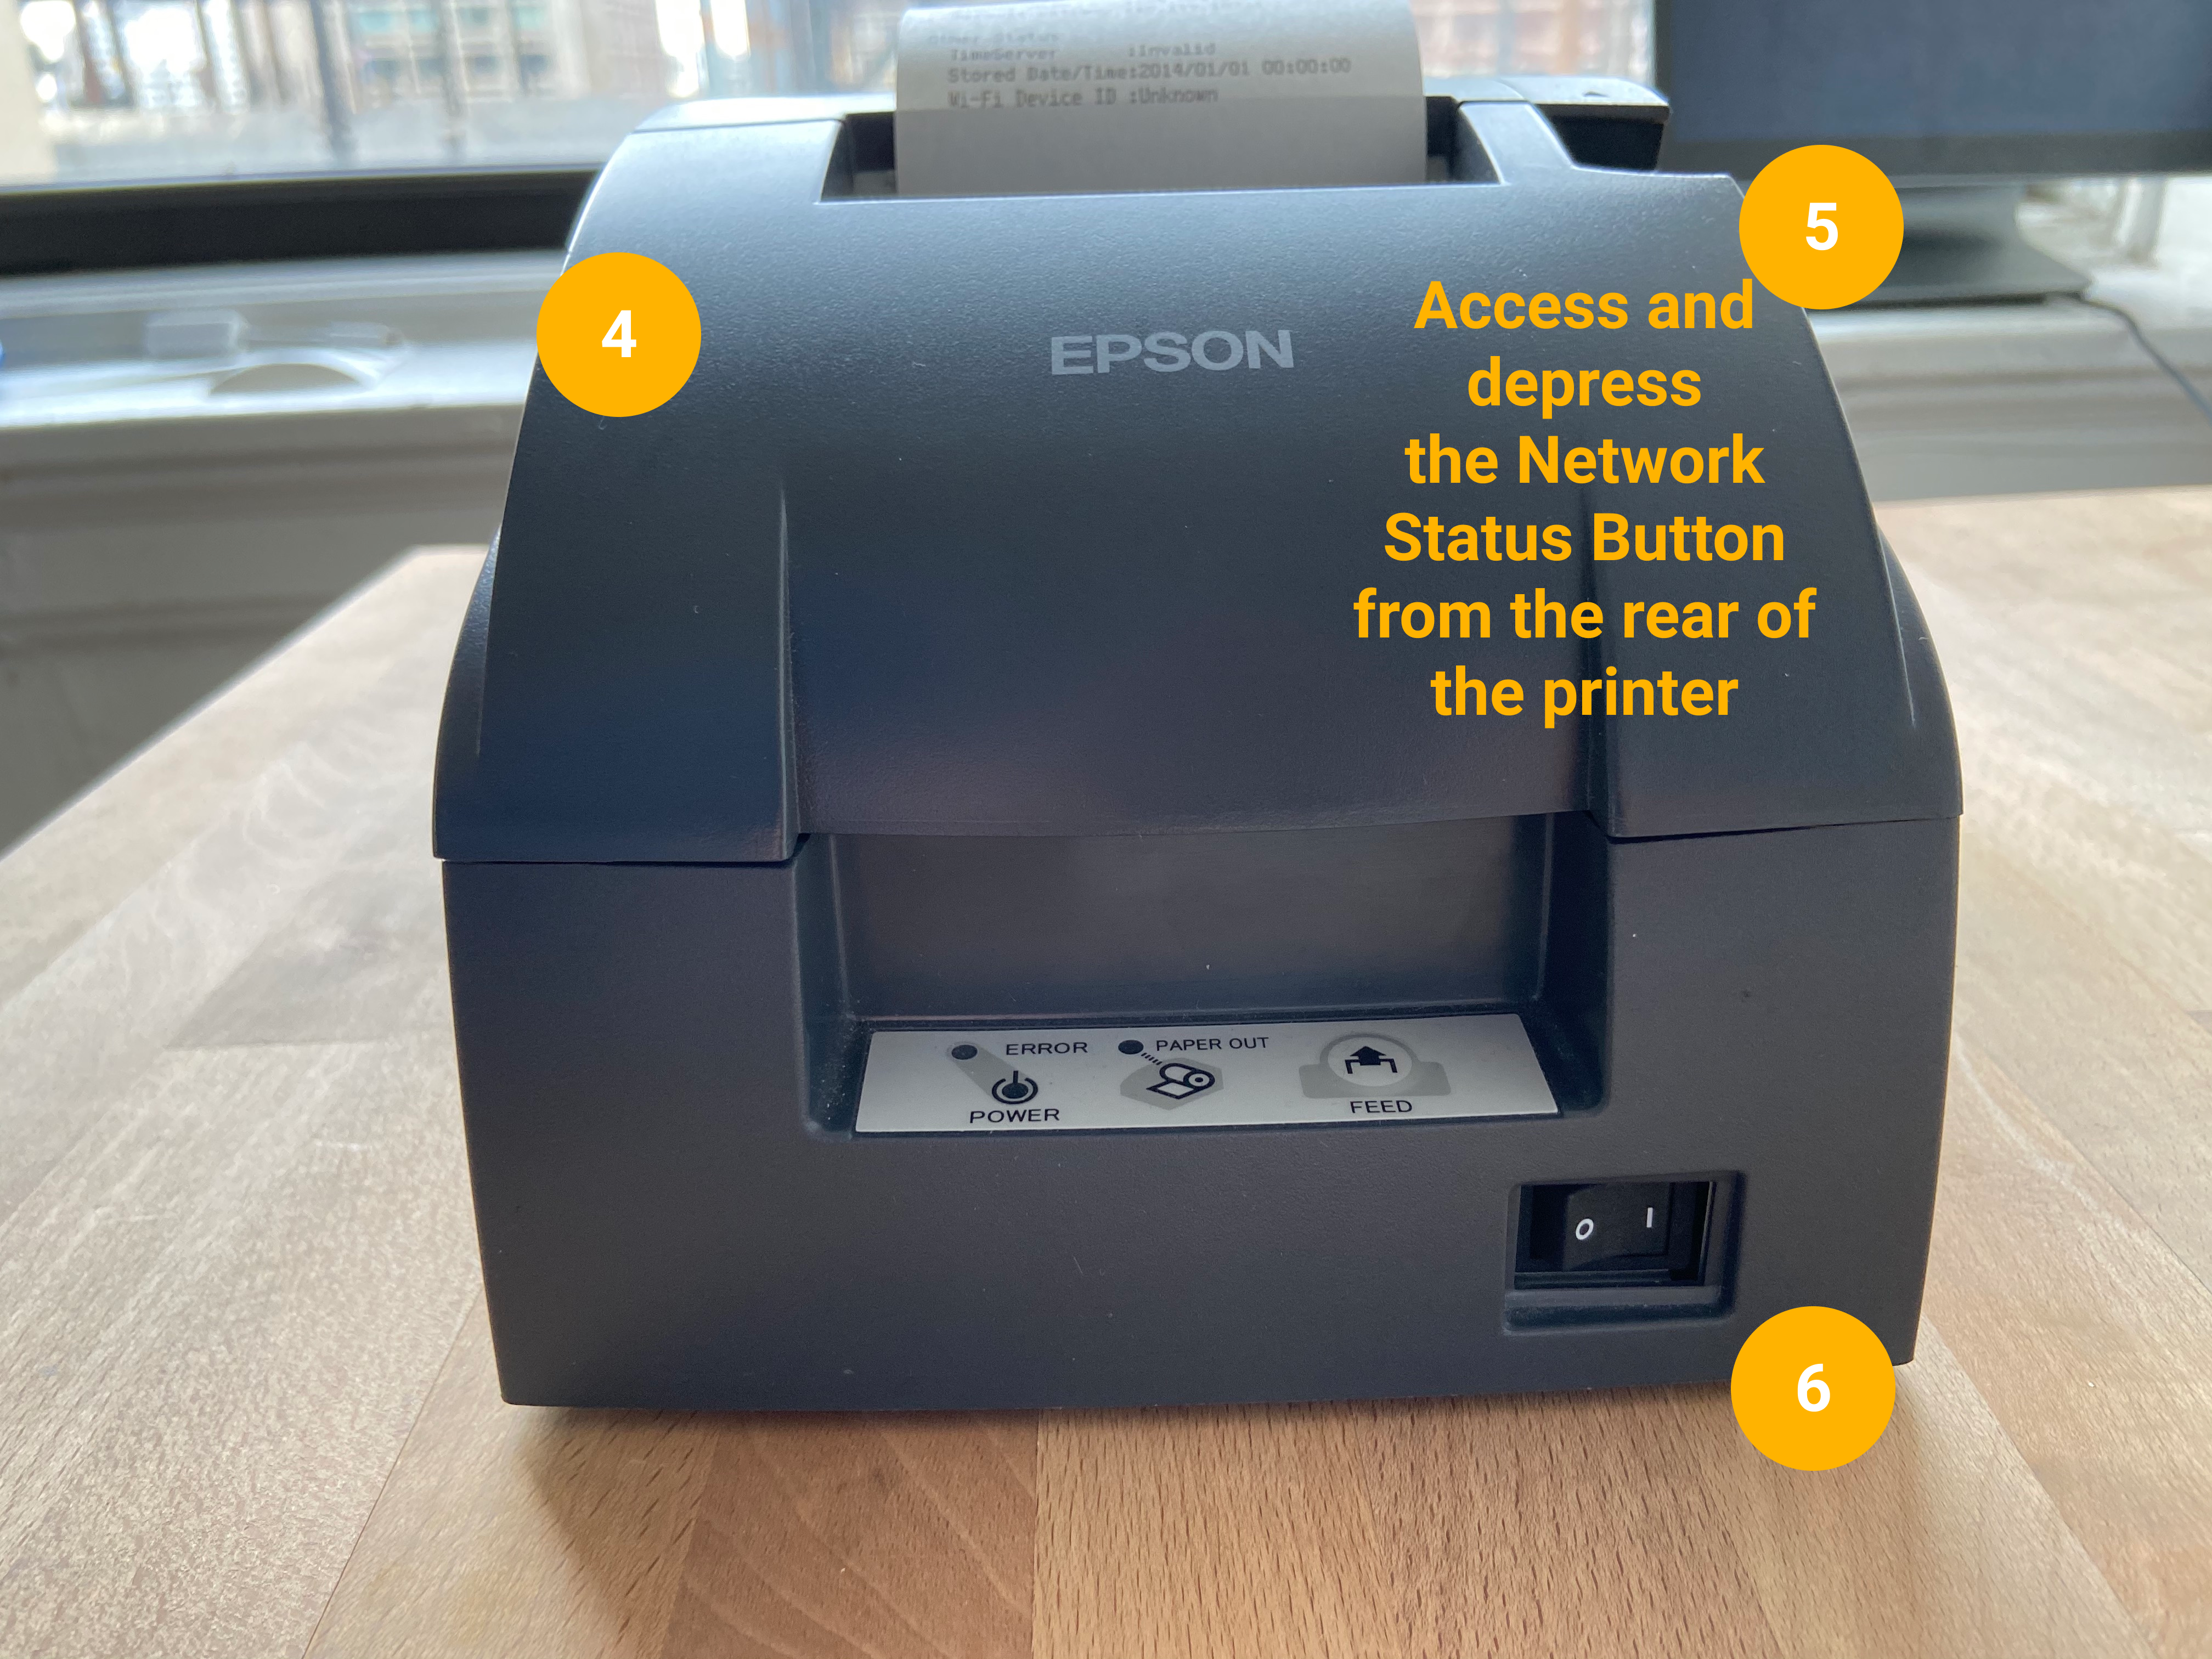
Turn the printer right side up Use the tip of a pen or a paperclip to depress and hold the Network Status Button Turn the printer ON while continuing to hold the Network Status Button
|  |
The printer will make a mechanical noise and print a sheet indicating it is in the process of resetting to factory defaults
| 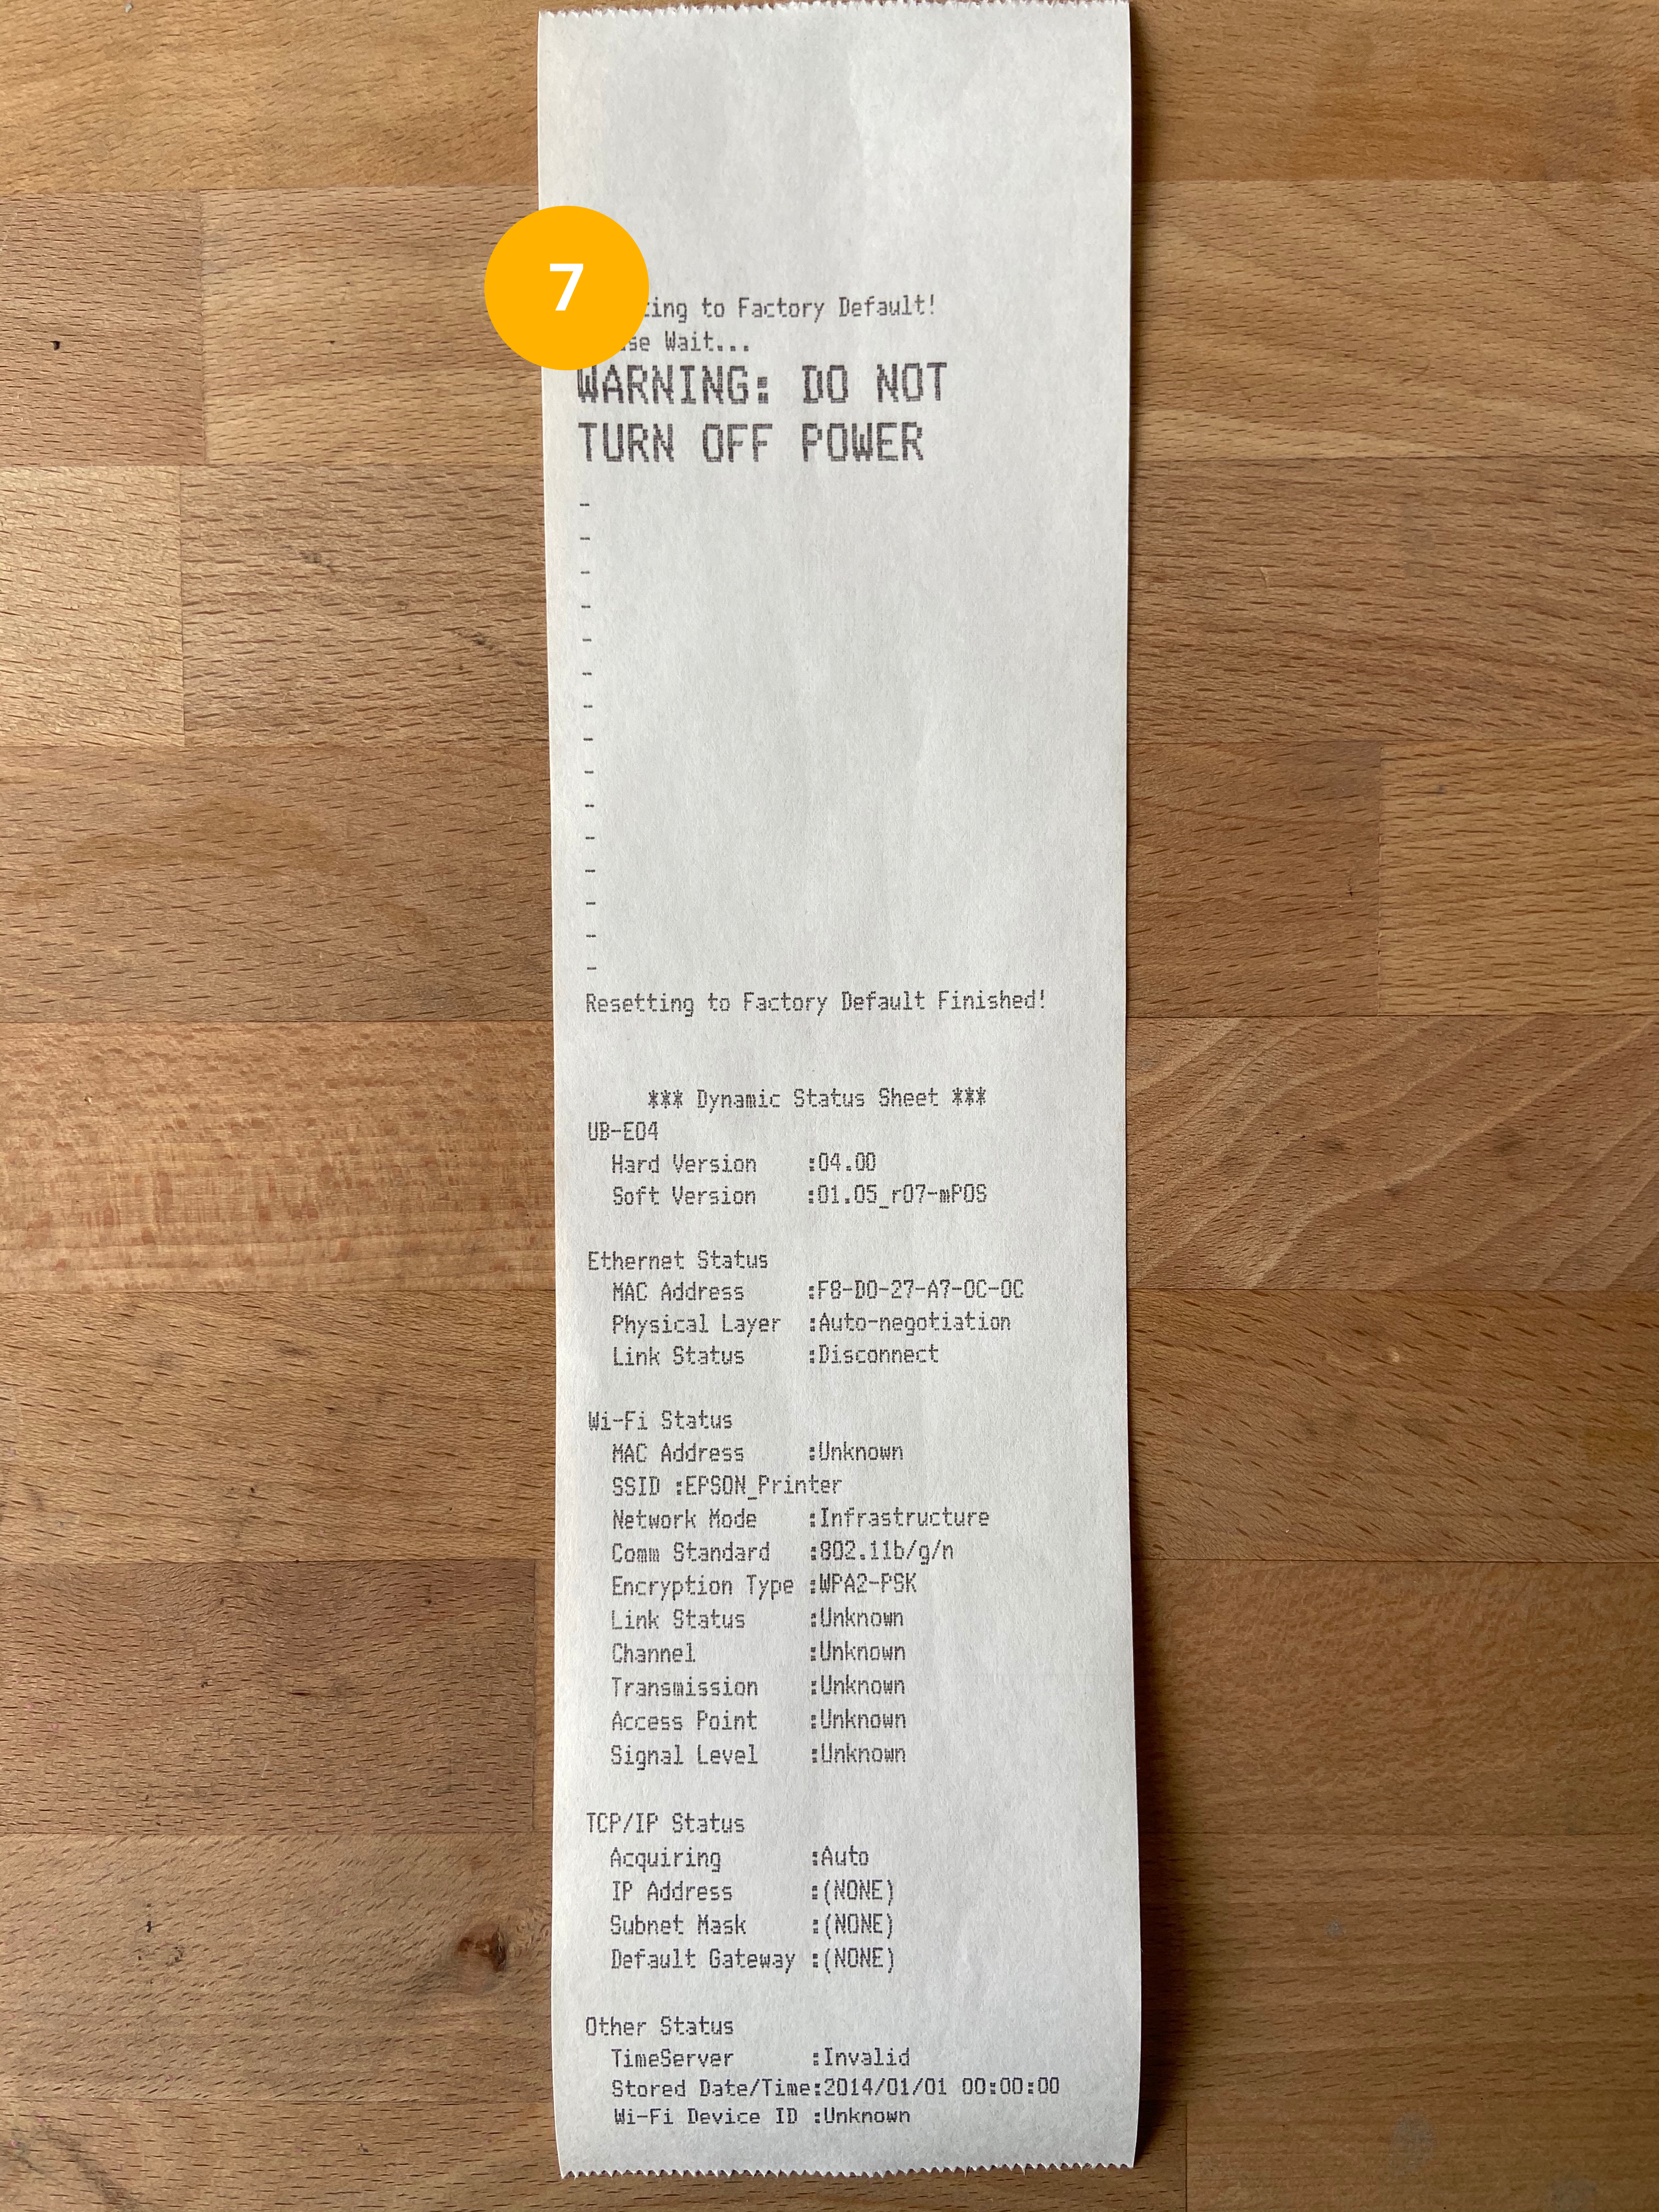 |
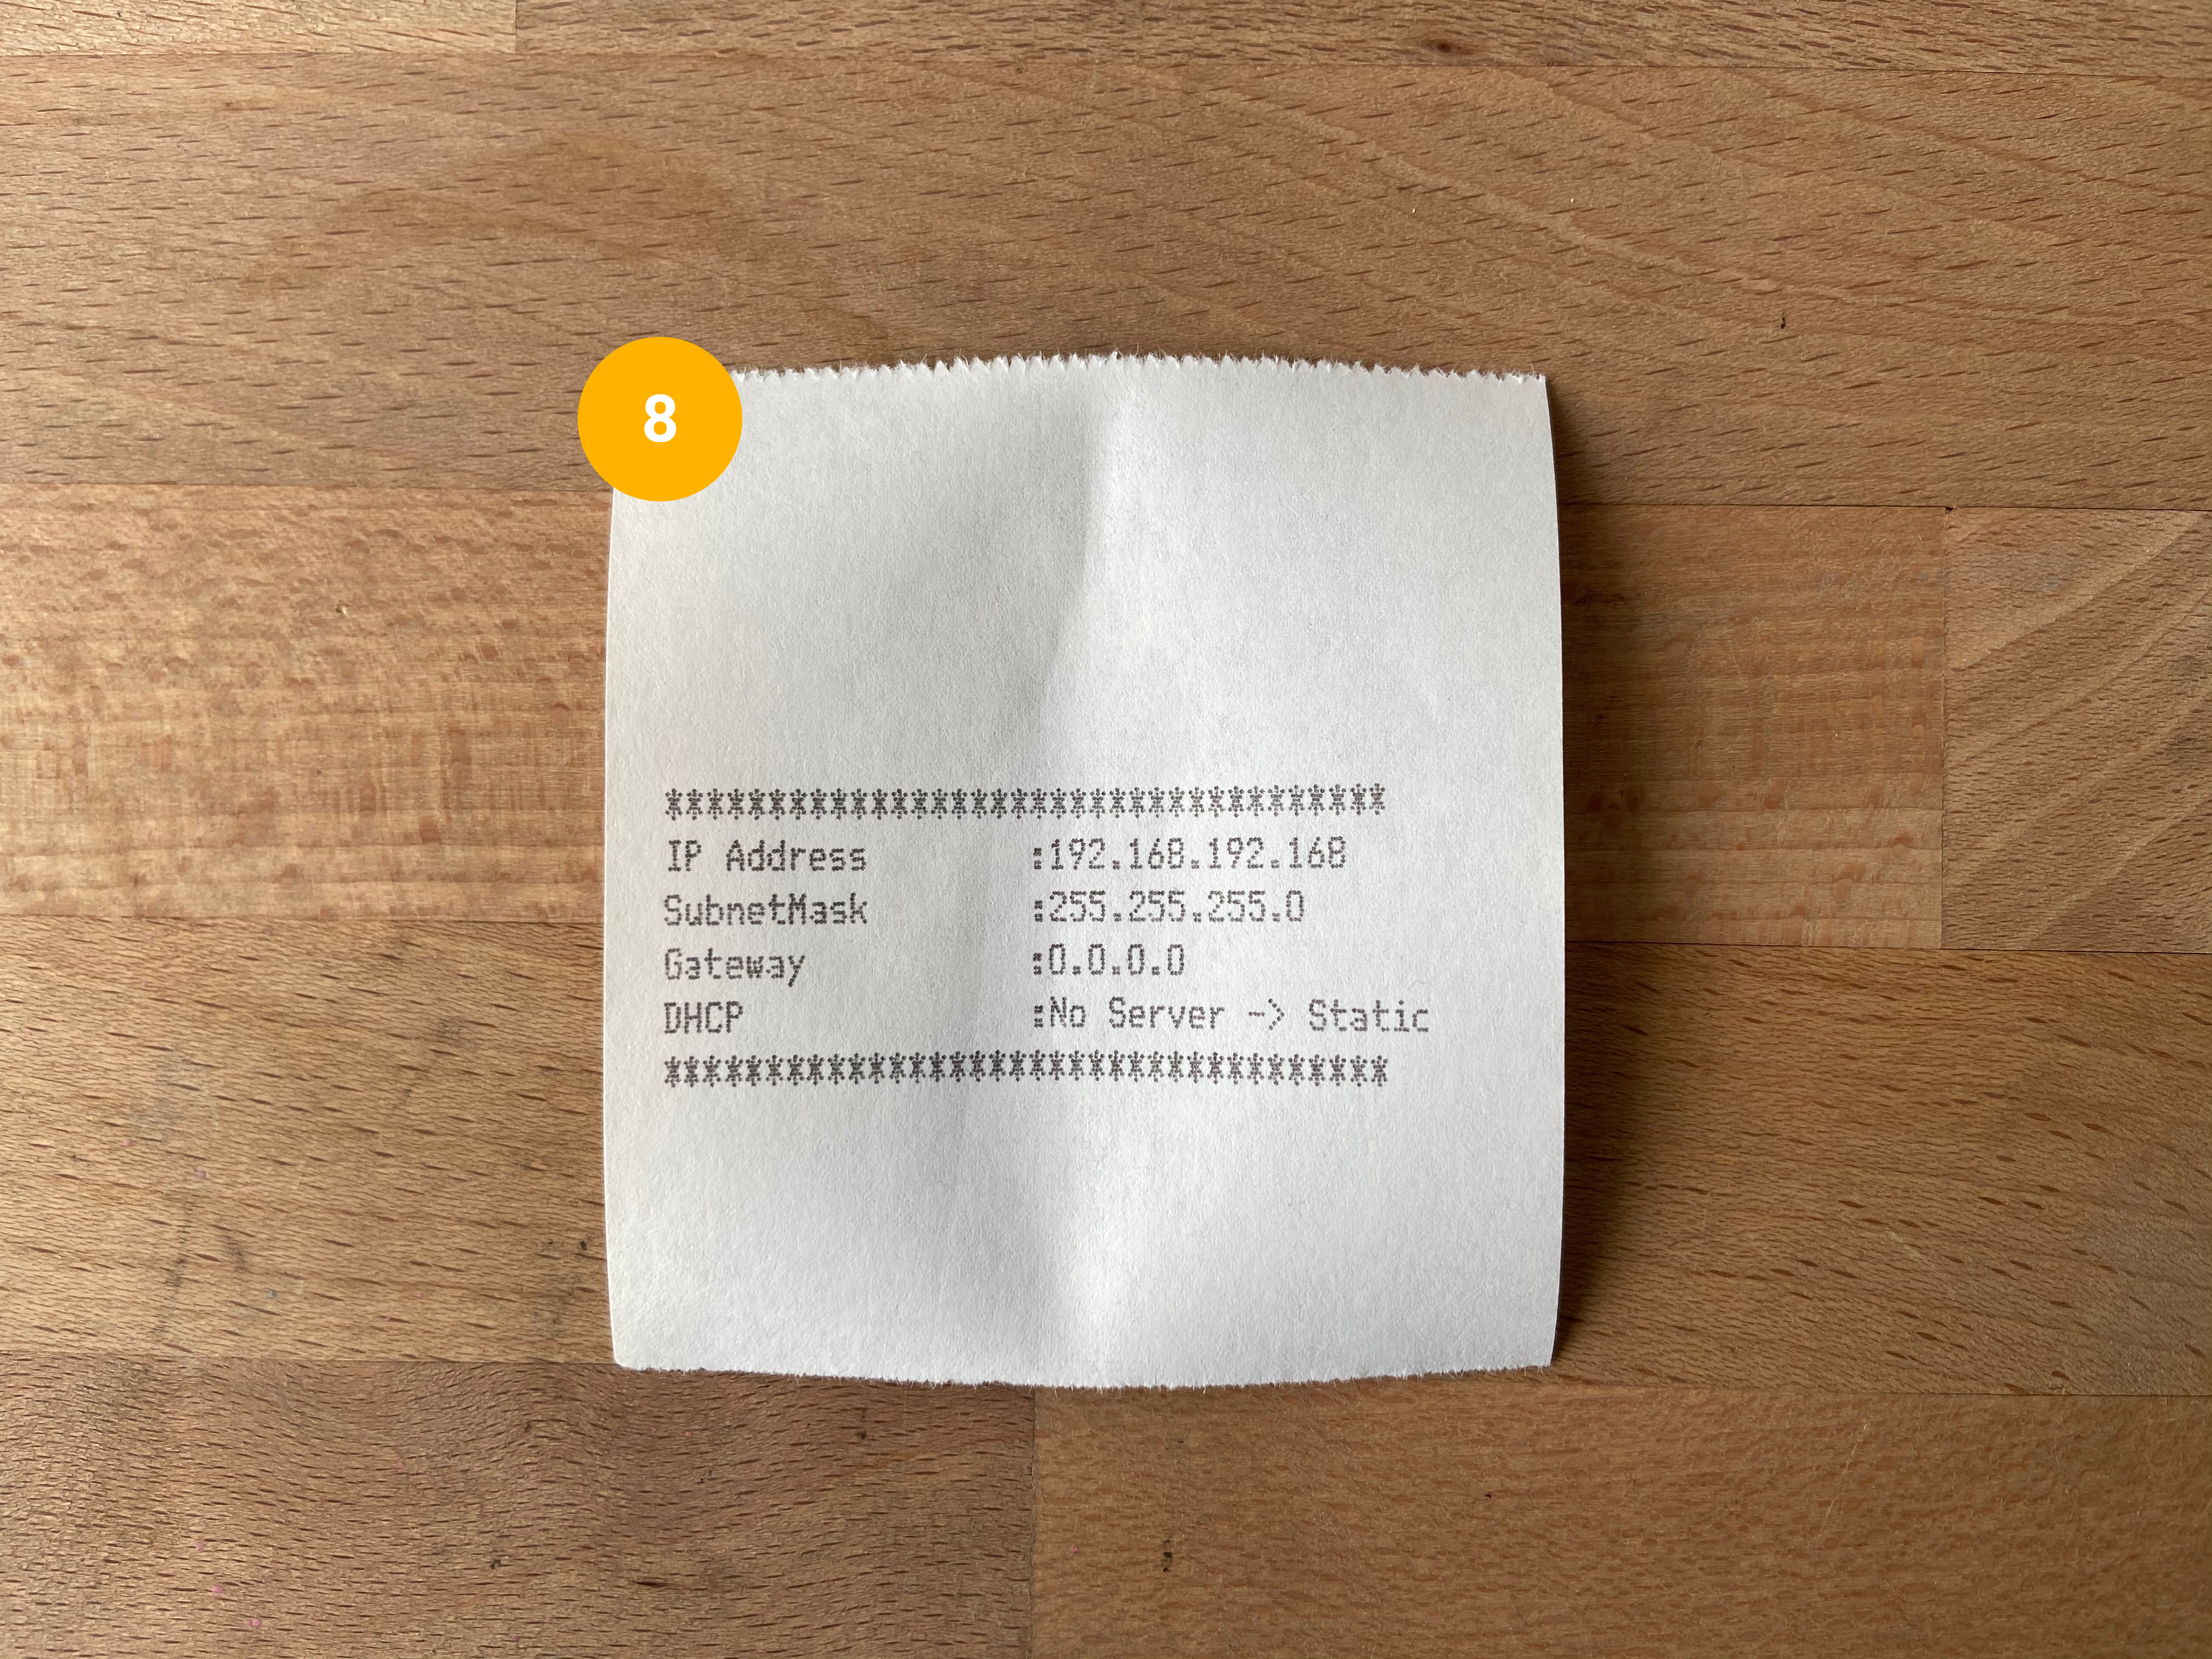
Wait until a small receipt with the below information prints (this can take about 60 seconds)
*******************************
IP Address : 192.168.192.168
SubnetMask : 255.255.255.0
Gateway : 0.0.0.0
DHCP : No Server -> Static
*******************************
|  |
Related Articles
Epson TM-L90 Label Printer: User manual
See the attached PDF User Manual.
How to: Configure an Epson TM-U220 Impact Printer
How to: Configure an Epson TM-U220 Impact Printer Overview In this article we will review how to change the network configuration of an Epson TM-U220 impact printer. It may seem a little daunting at first, but the whole process can usually be ...
How To: Configure an Epson L90 Label Printer
Configuration Steps outlined below should be completed on initial configuration. Also to troubleshoot an issue with how the labels are cutting. Sometimes this process must be ran through multiple times for it to correctly configure the labels. ...
How to Put a Star SP700 Printer into Epson Mode for use with QSR Automation
Setting Up the Printer Turn off the power to the printer and unplug it. Flip it upside down. Unscrew the panel on the bottom. (This will require a Phillips head screwdriver.) Note: The dip switch panel is smaller than it might appear in these ...
Remotely setting static IP on Star Printer
Remotely setting static IP on Star Printer All steps must be completed from a phone or iPad on the same network as the printer. Thermal Printer Printing current network configuration Turn off the printer at the switch Hold down the feed button, then ...