Overview
In this article we will review how to change the network configuration of an Epson TM-U220 impact printer. It may seem a little daunting at first, but the whole process can usually be completed in about ten (10) to twenty (20) minutes.
Required Materials
A computer/iPad
A pen or paper clip
An Epson TM-U220 printer (factory reset)
An IP address available for use by the printer
NOTE: Every device on a network must have a unique IP address. When in doubt, please contact your Network Management Team with any questions.
Basic Process
Factory reset the Epson TM-U220 printer
Change the computer’s network settings to allow it to communicate with the printer
Windows or MacOS
Physically connect the computer to the printer with an ethernet cable
Use a web browser to access the printer’s configuration interface and set a configuration to the printer
Factory Reset the Epson TM-U220 printer
It’s always best to start from a clean slate. Reset the printer to factory defaults to wipe any existing configurations.
Turn the printer OFF
| 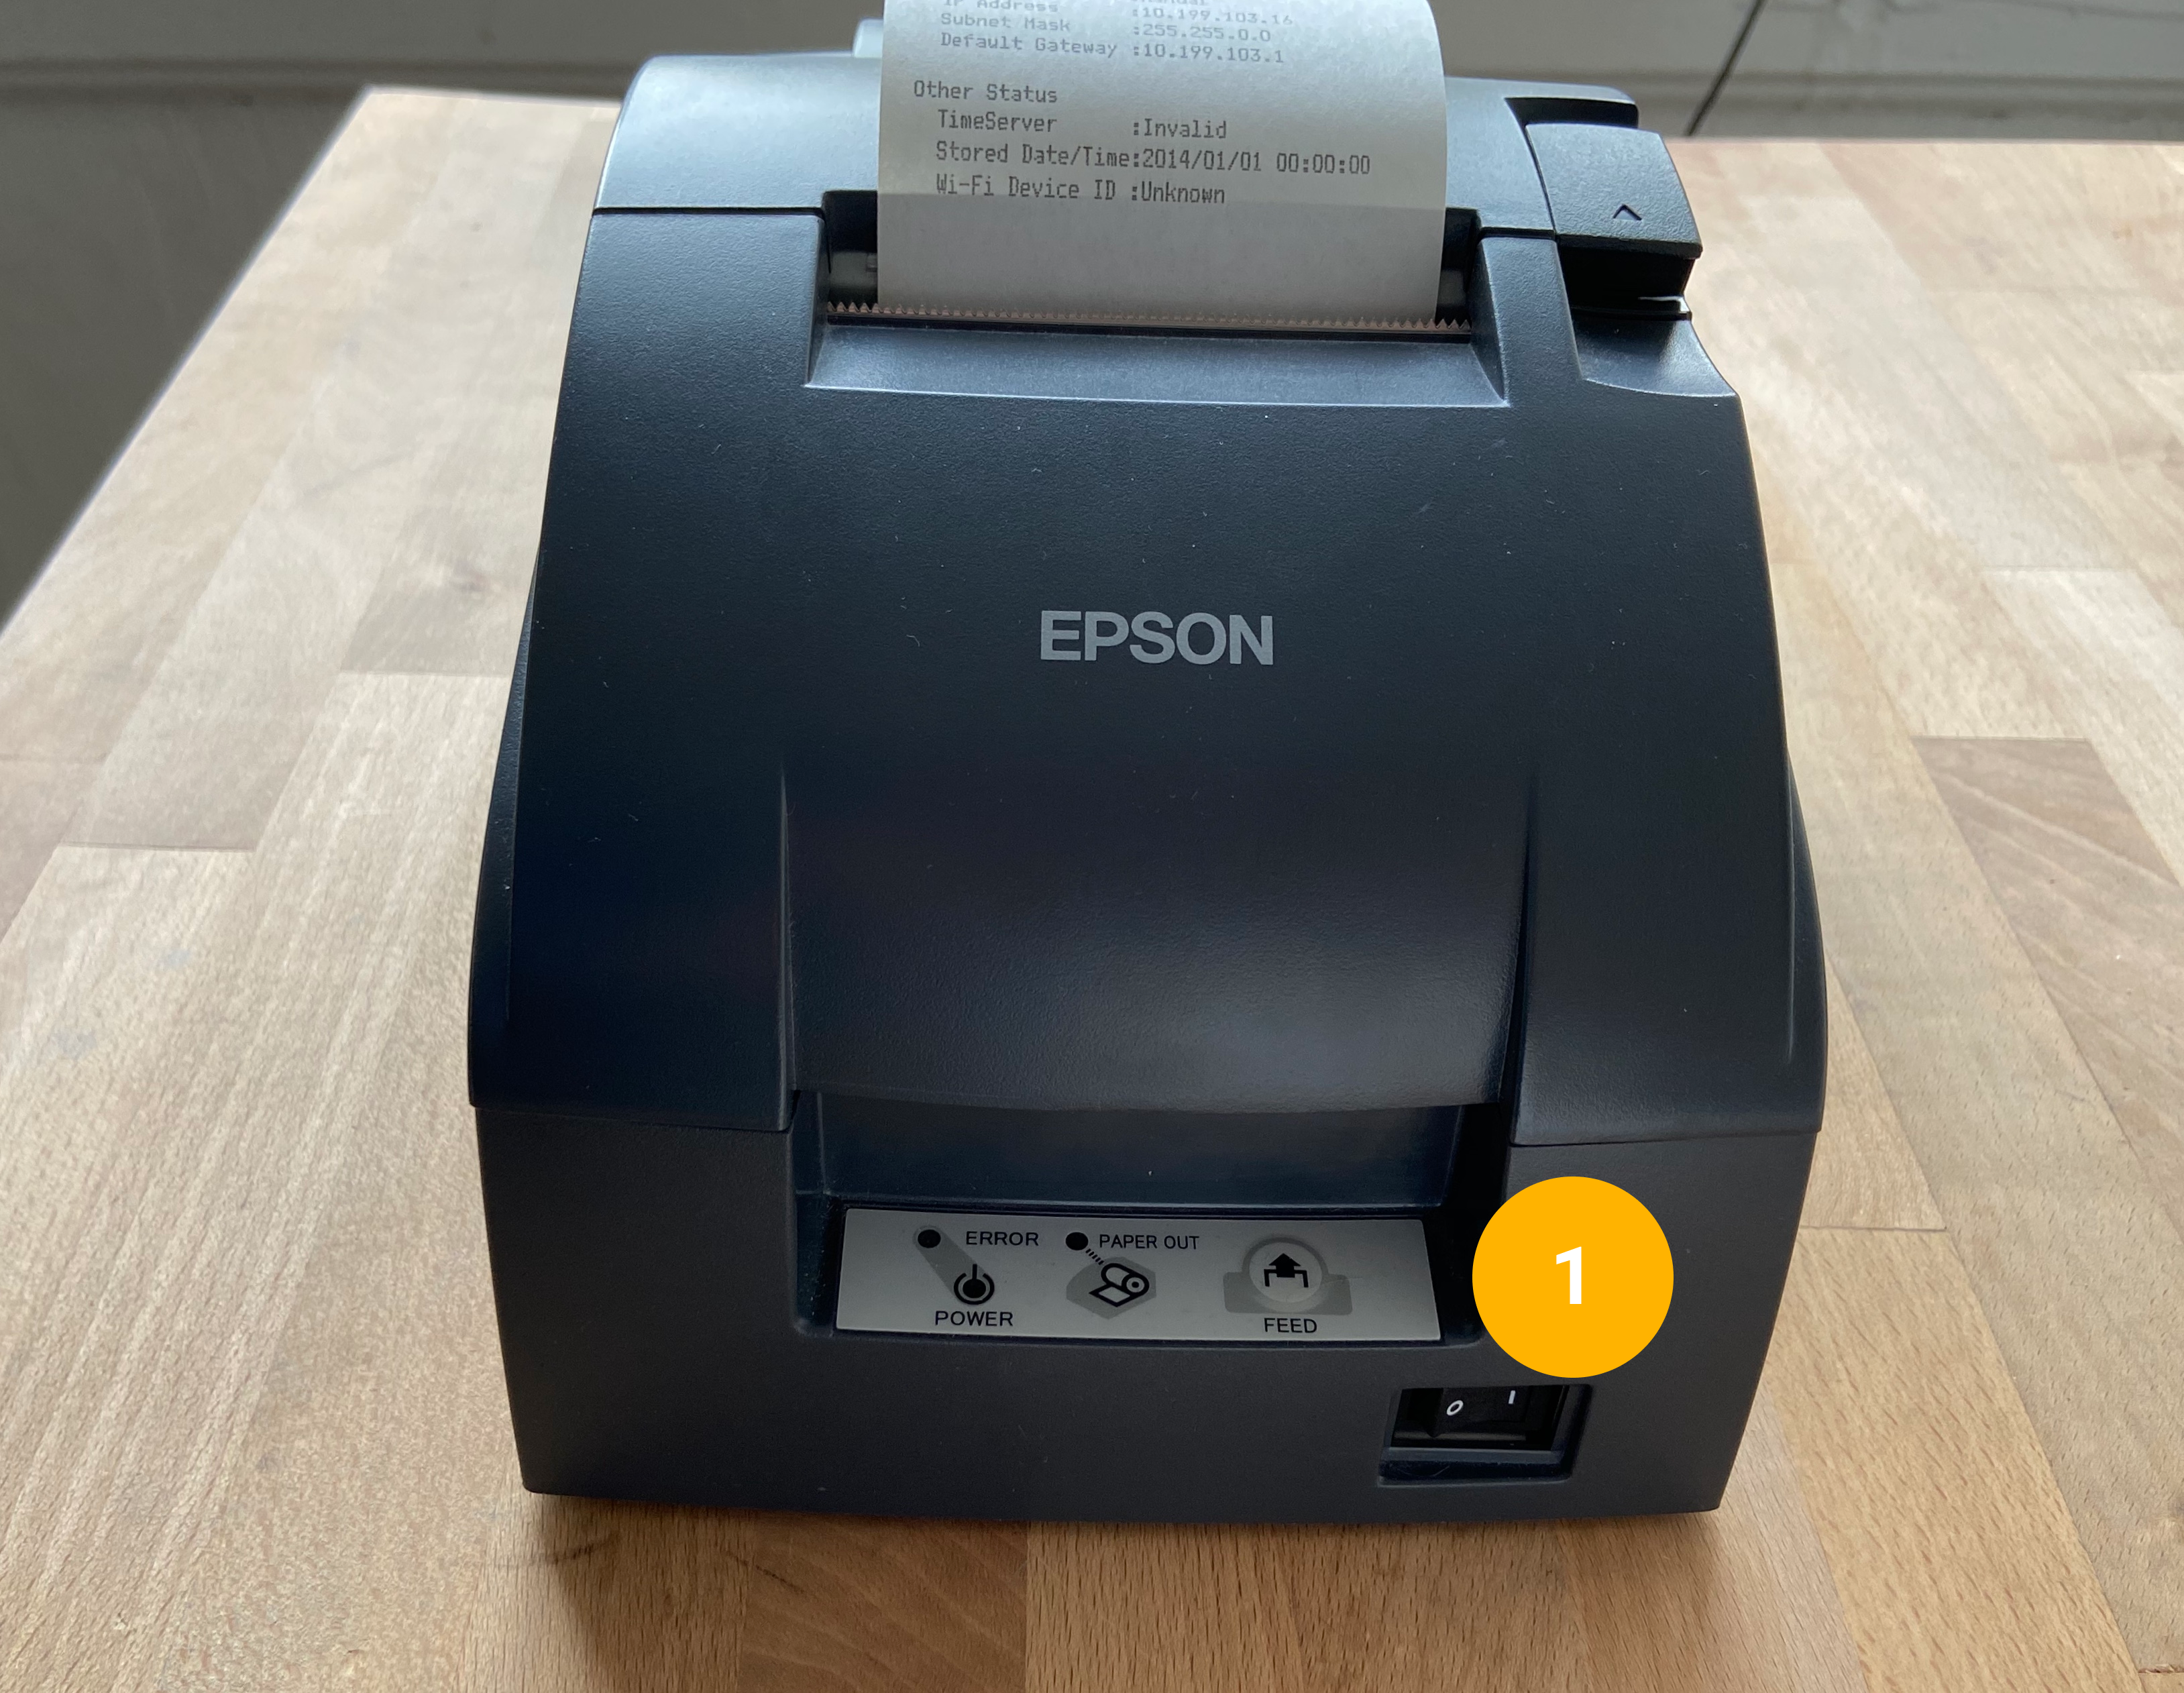 |
Turn the printer upside down
| 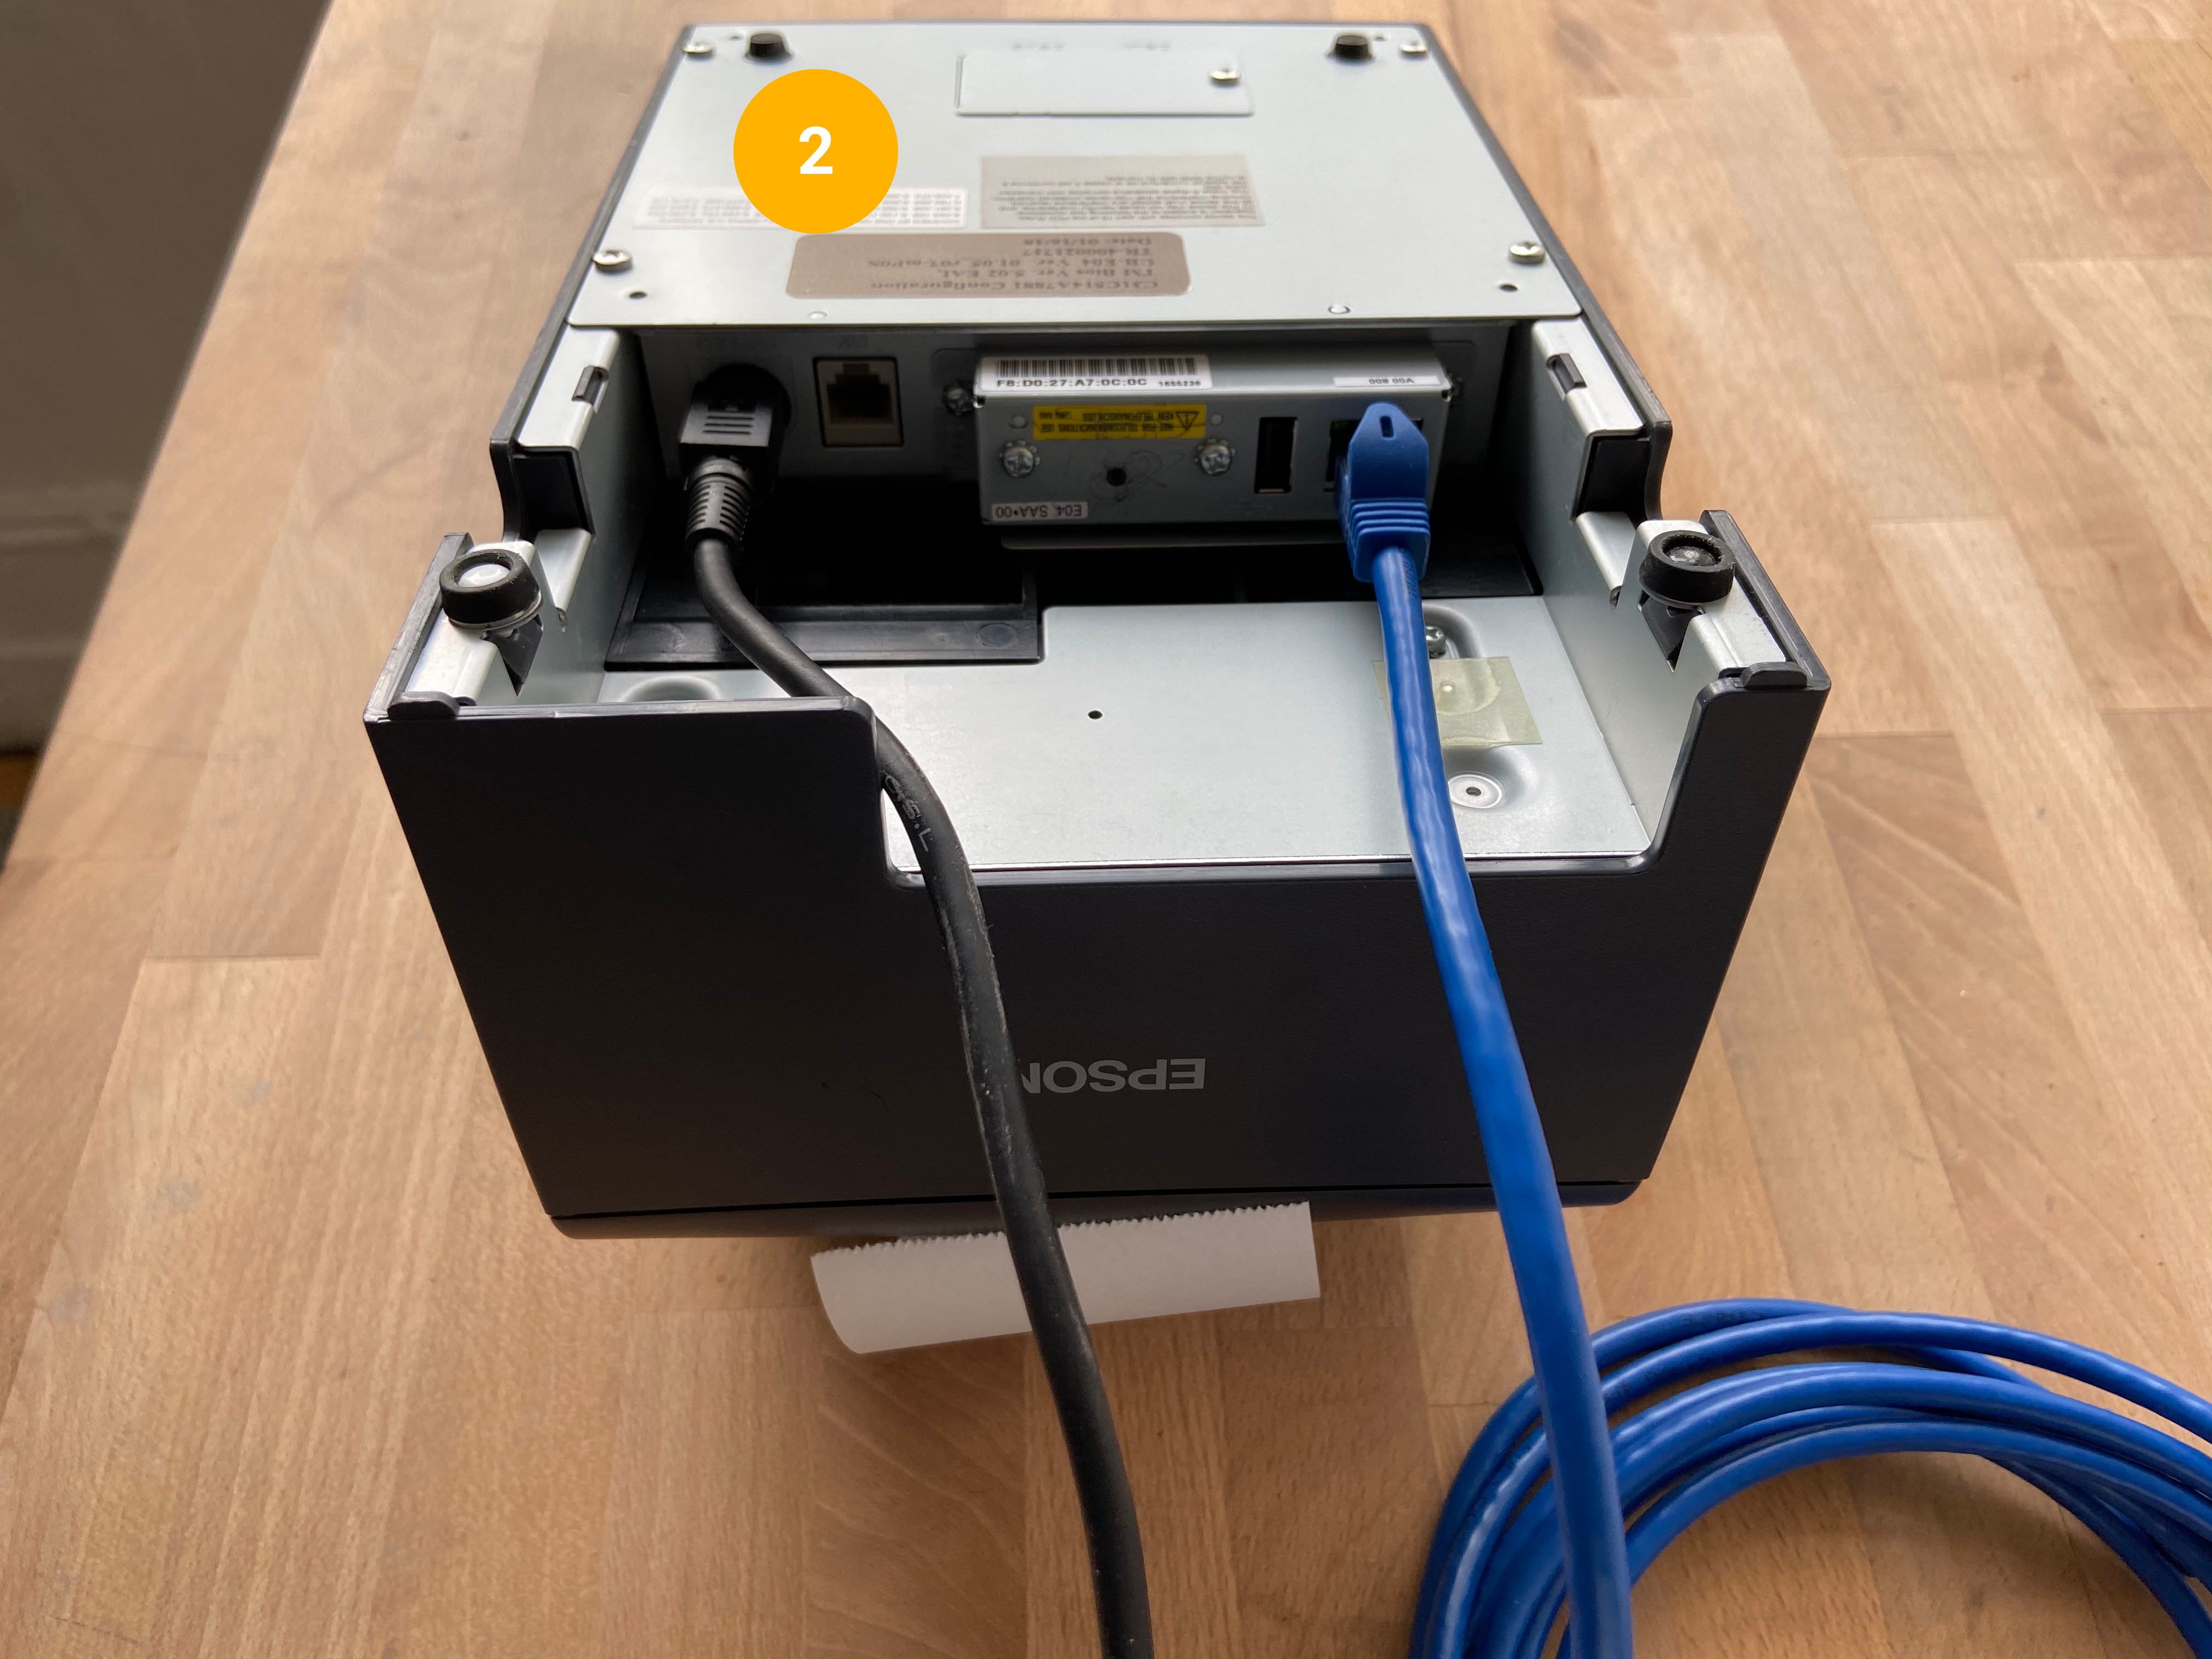 |
Locate the Network Adapters on the rear underside of the printer. The small black dot below or above the yellow label is the Network Status Button
|  |
Turn the printer right side up Use the tip of a pen or a paperclip to depress and hold the Network Status Button Turn the printer ON while continuing to hold the Network Status Button
| 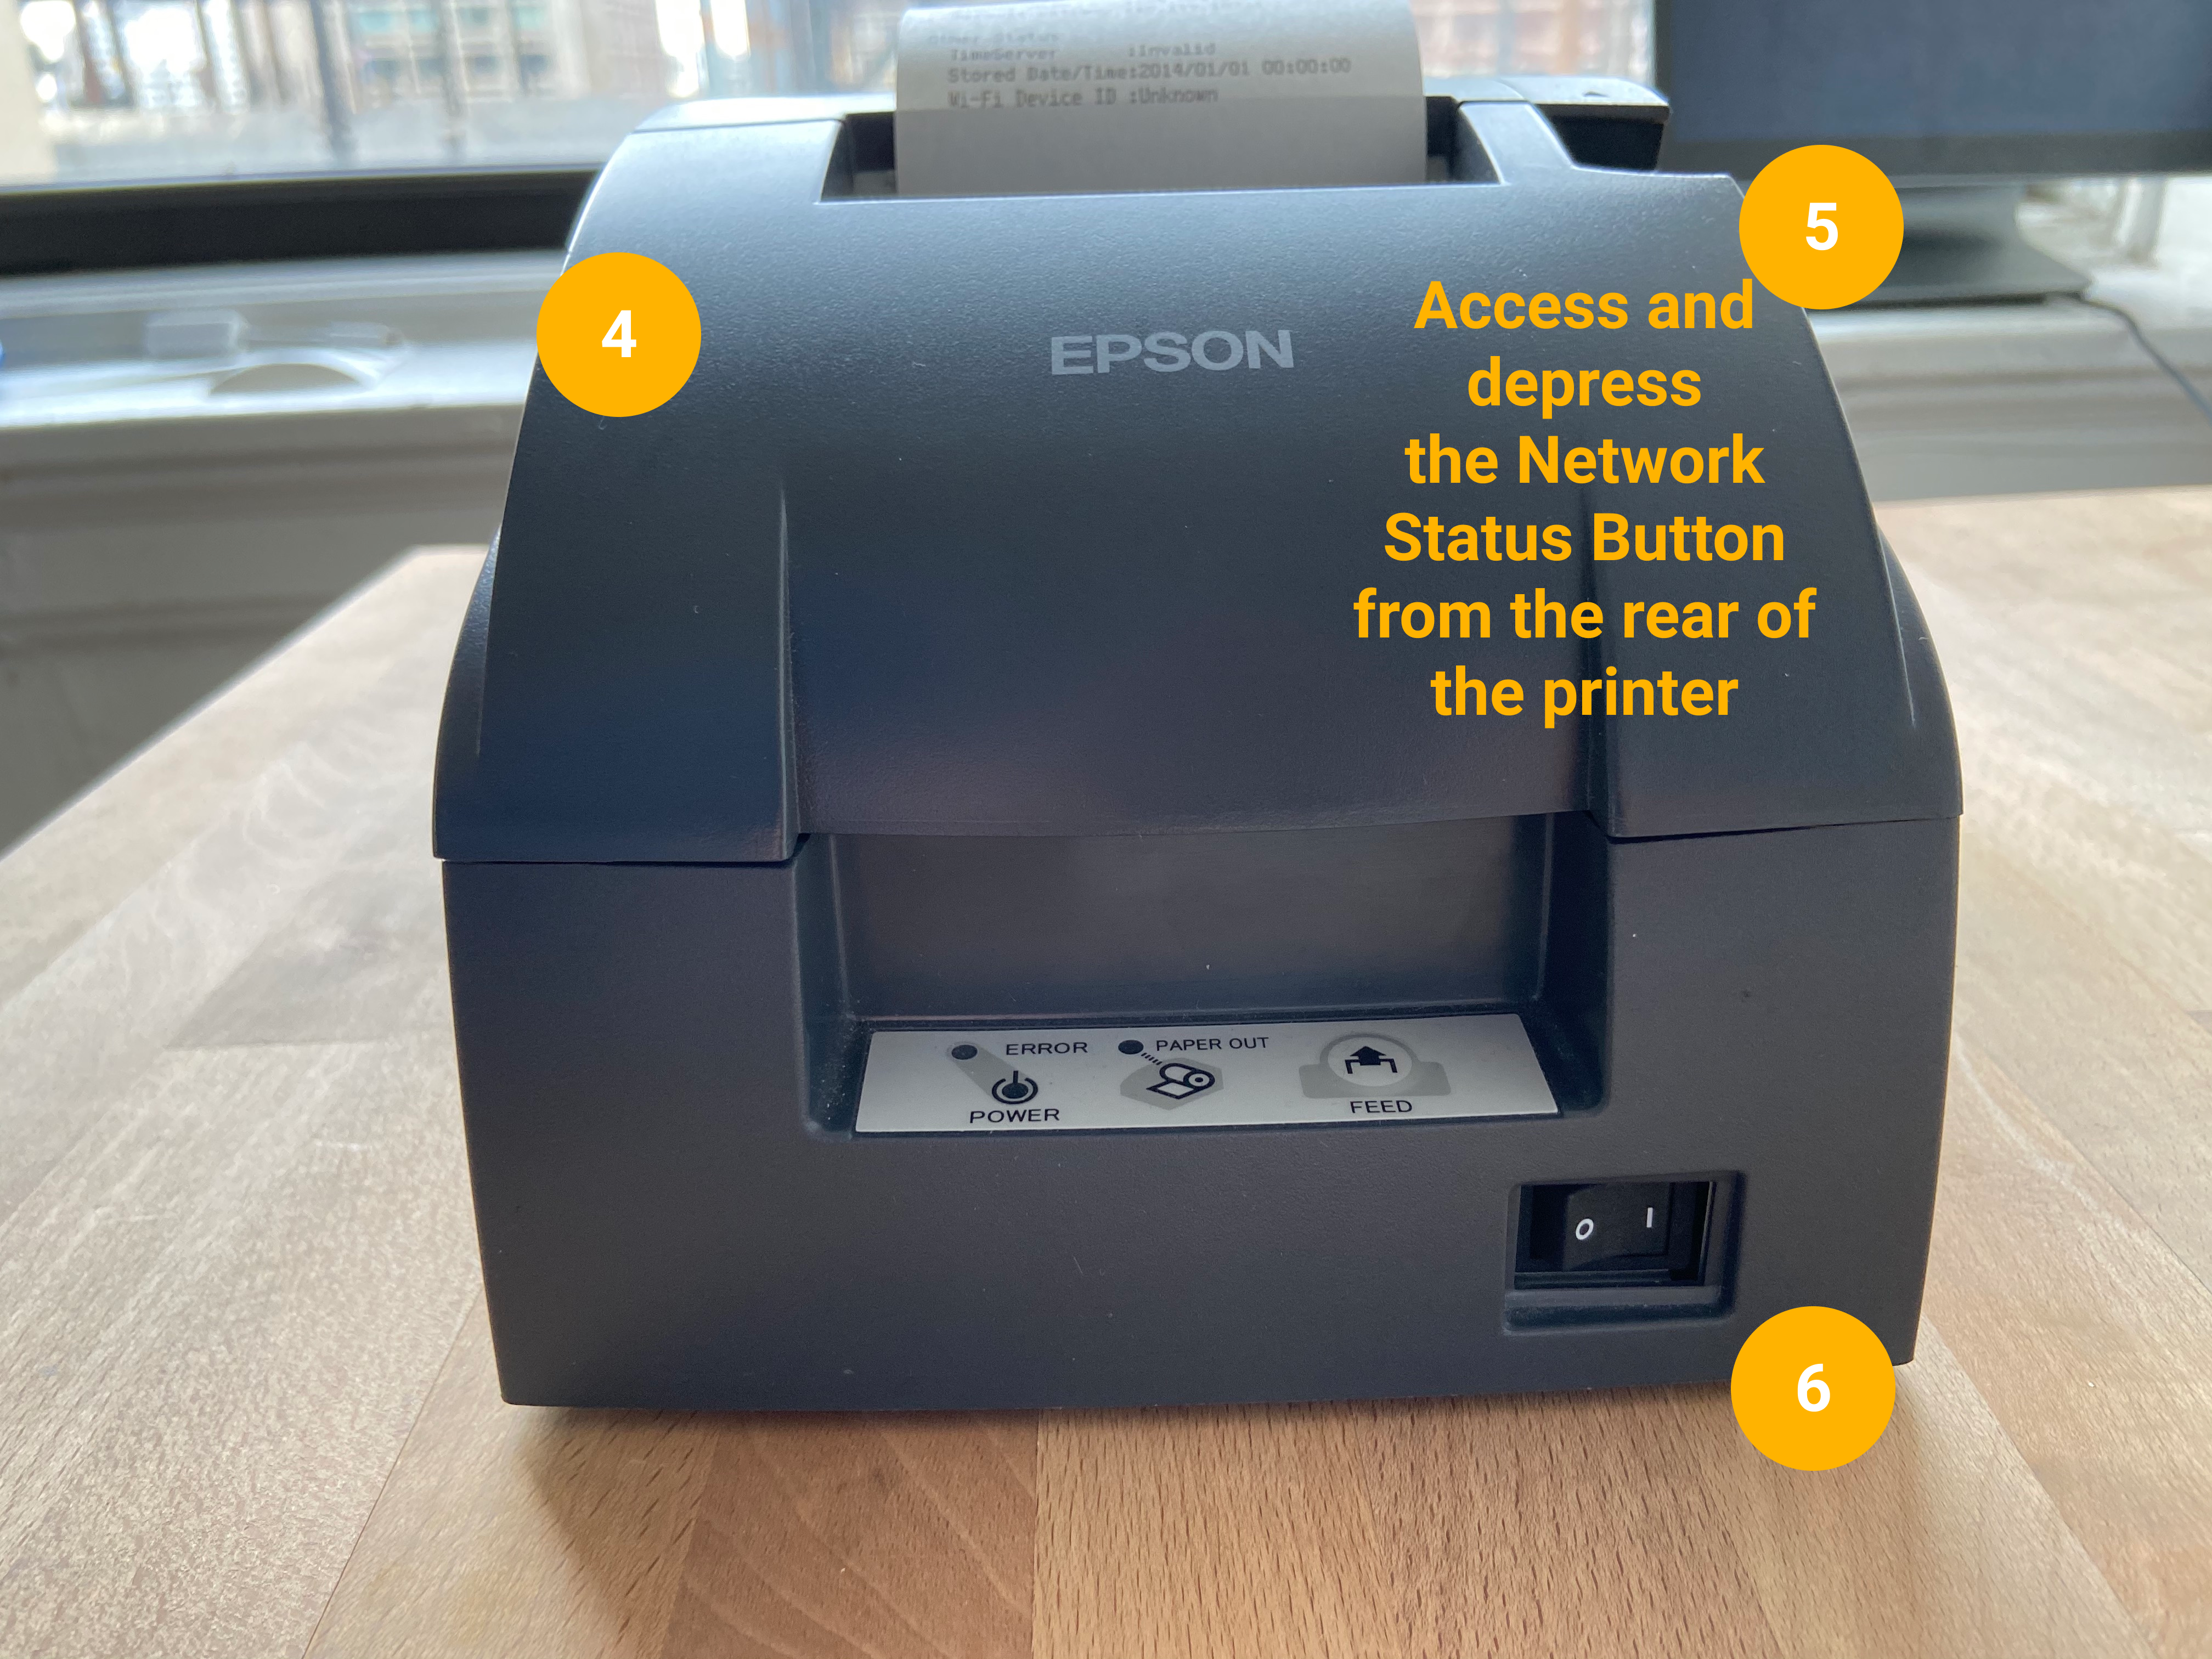 |
The printer will make a mechanical noise and print a sheet indicating it is in the process of resetting to factory defaults
| 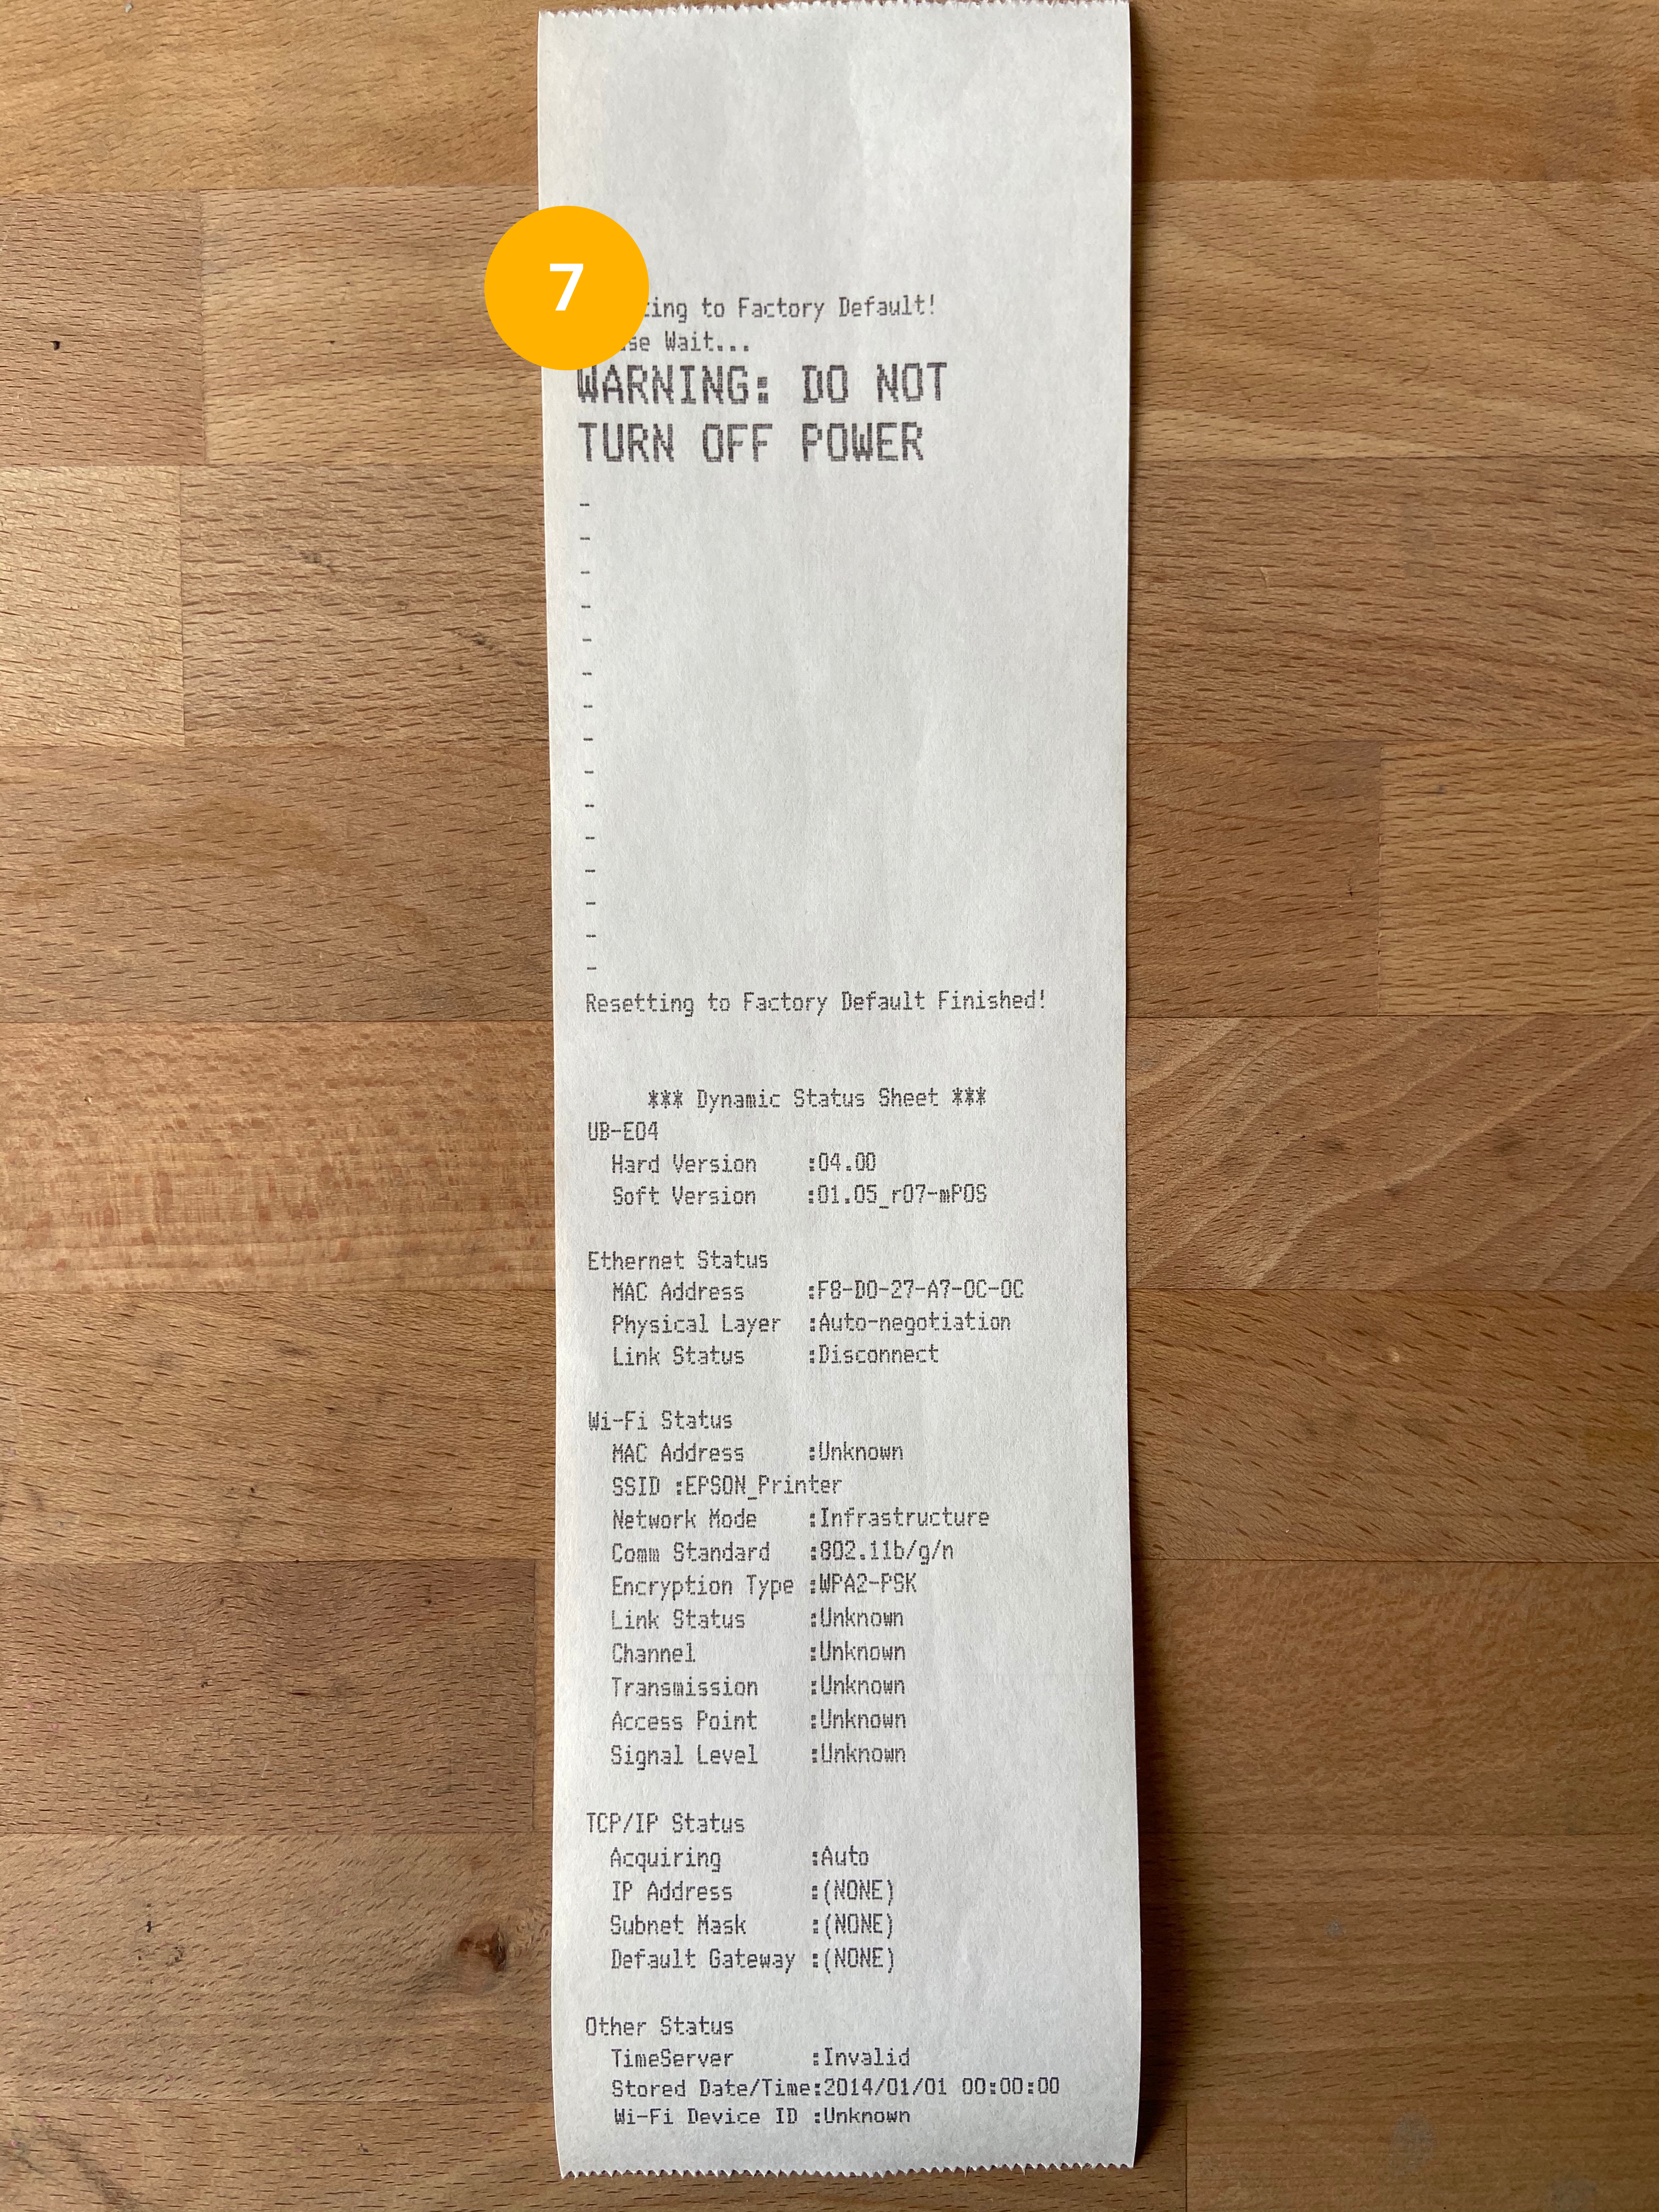 |
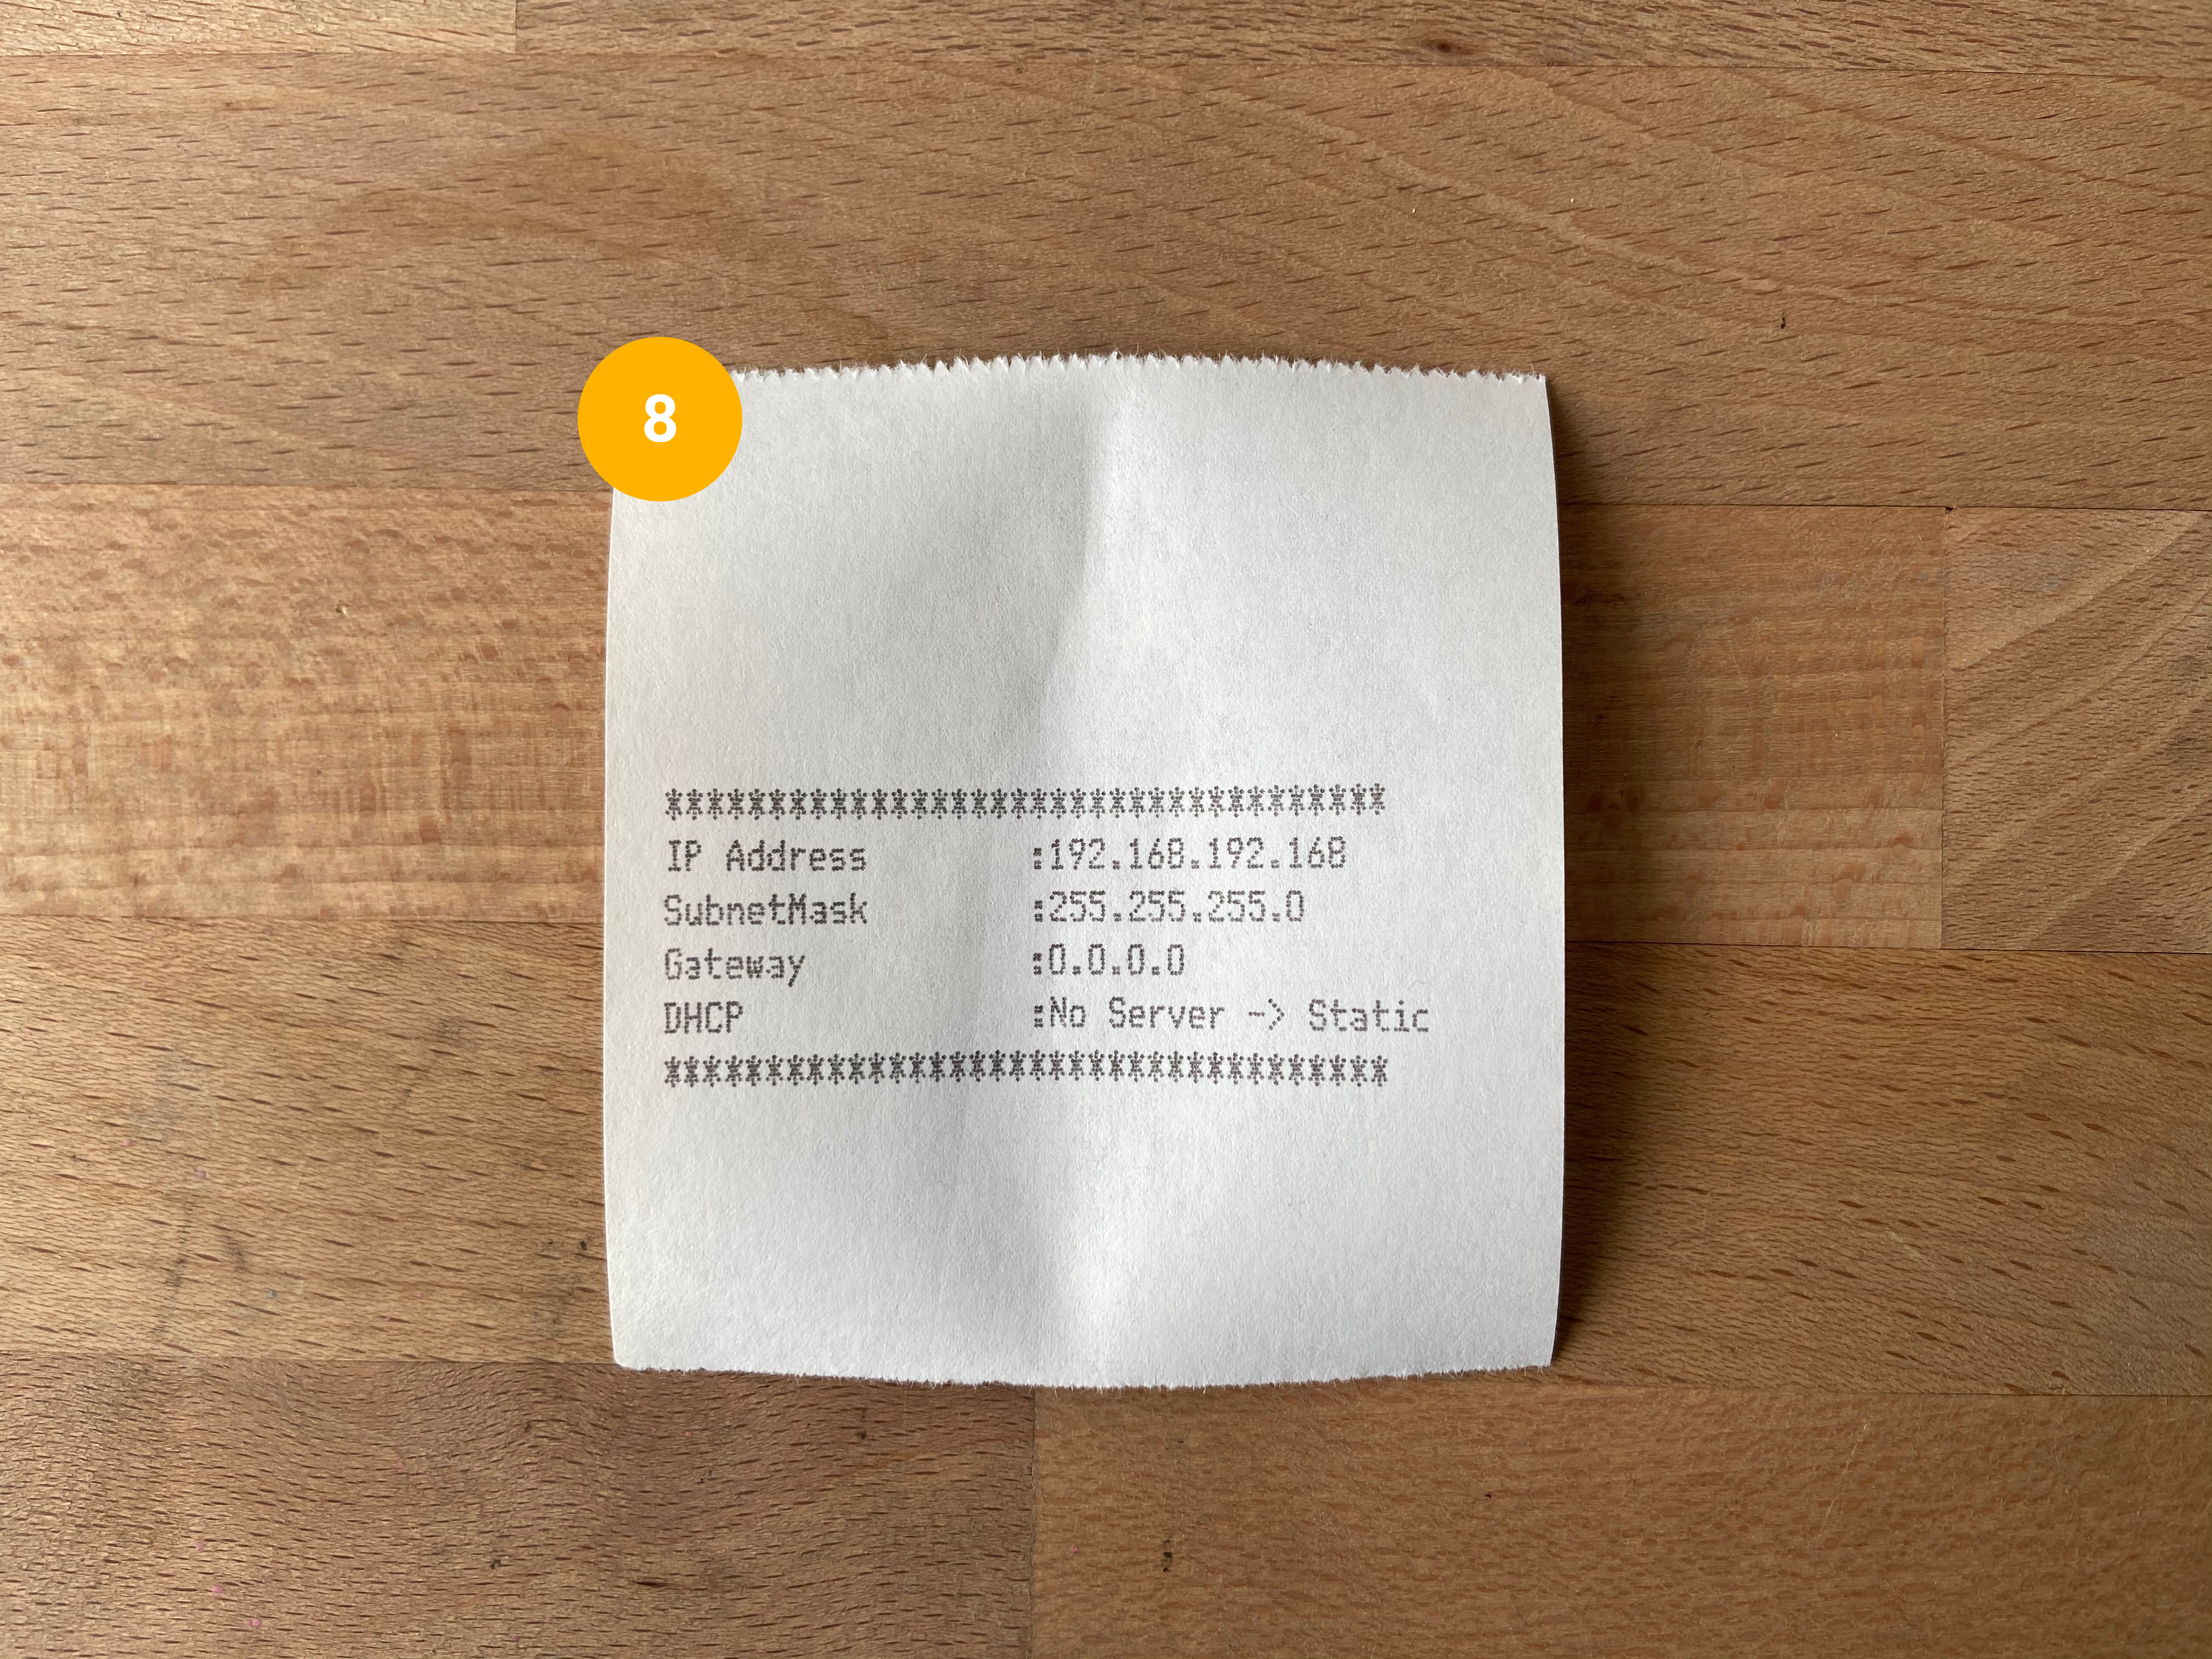
Wait until a small receipt with the below information prints (this can take about 60 seconds)
*******************************
IP Address : 192.168.192.168
SubnetMask : 255.255.255.0
Gateway : 0.0.0.0
DHCP : No Server -> Static
*******************************
|  |
Set a network configuration to the Printer
Use a web browser to access the printer's configuration page.
Open a web browser
| 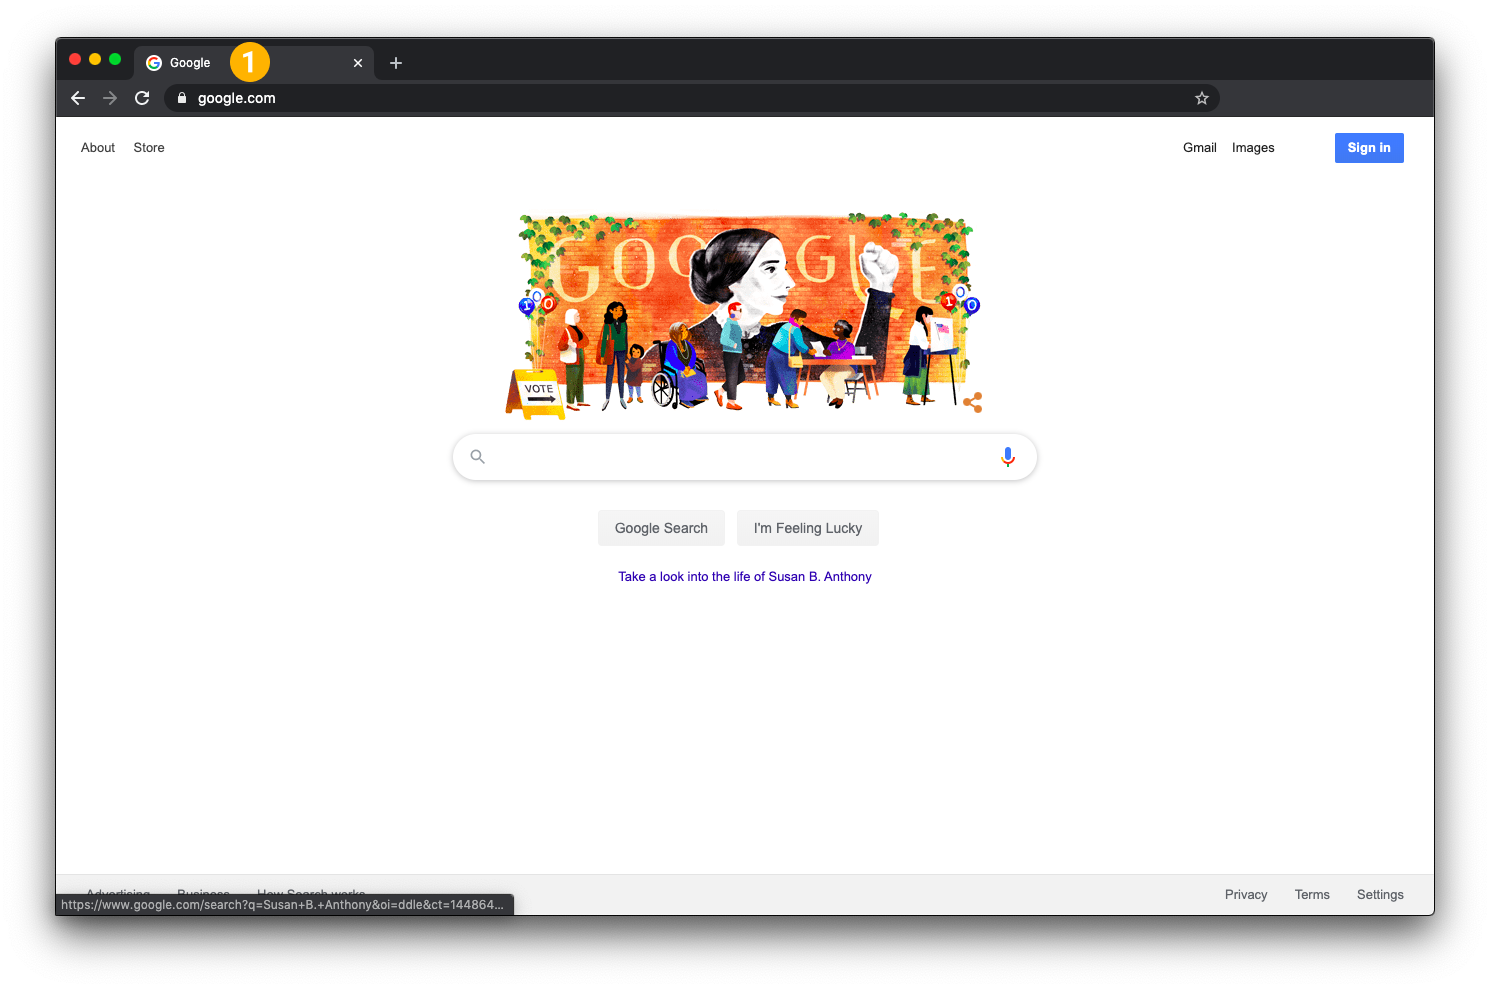 |
Enter the IP address of the printer (192.168.192.168) into the address bar
| 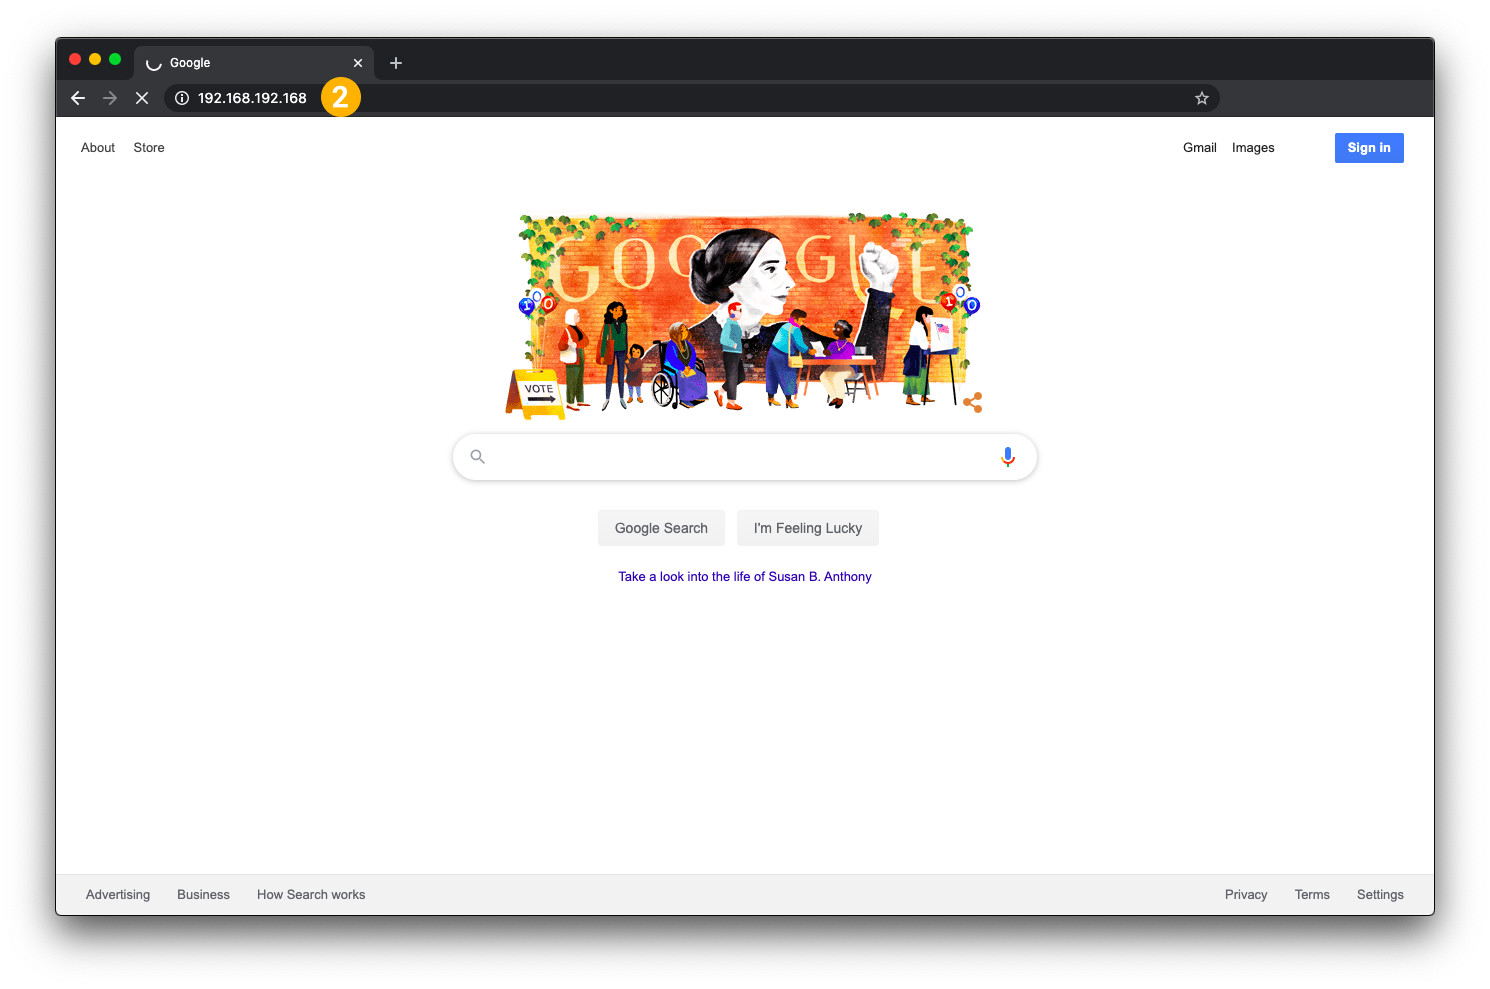 |
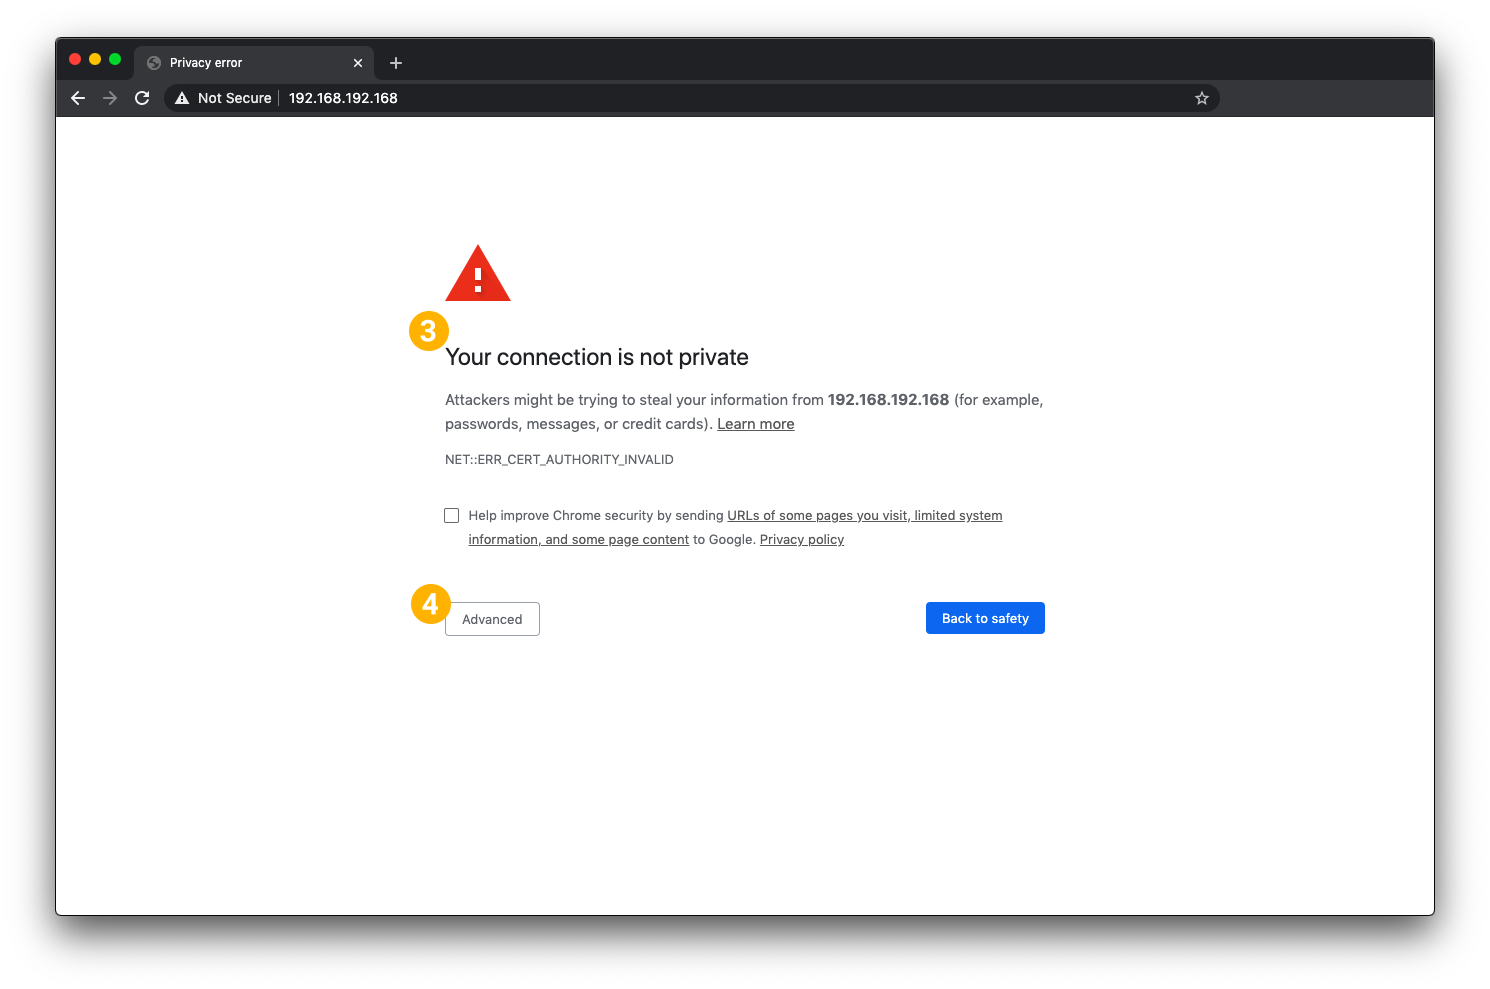
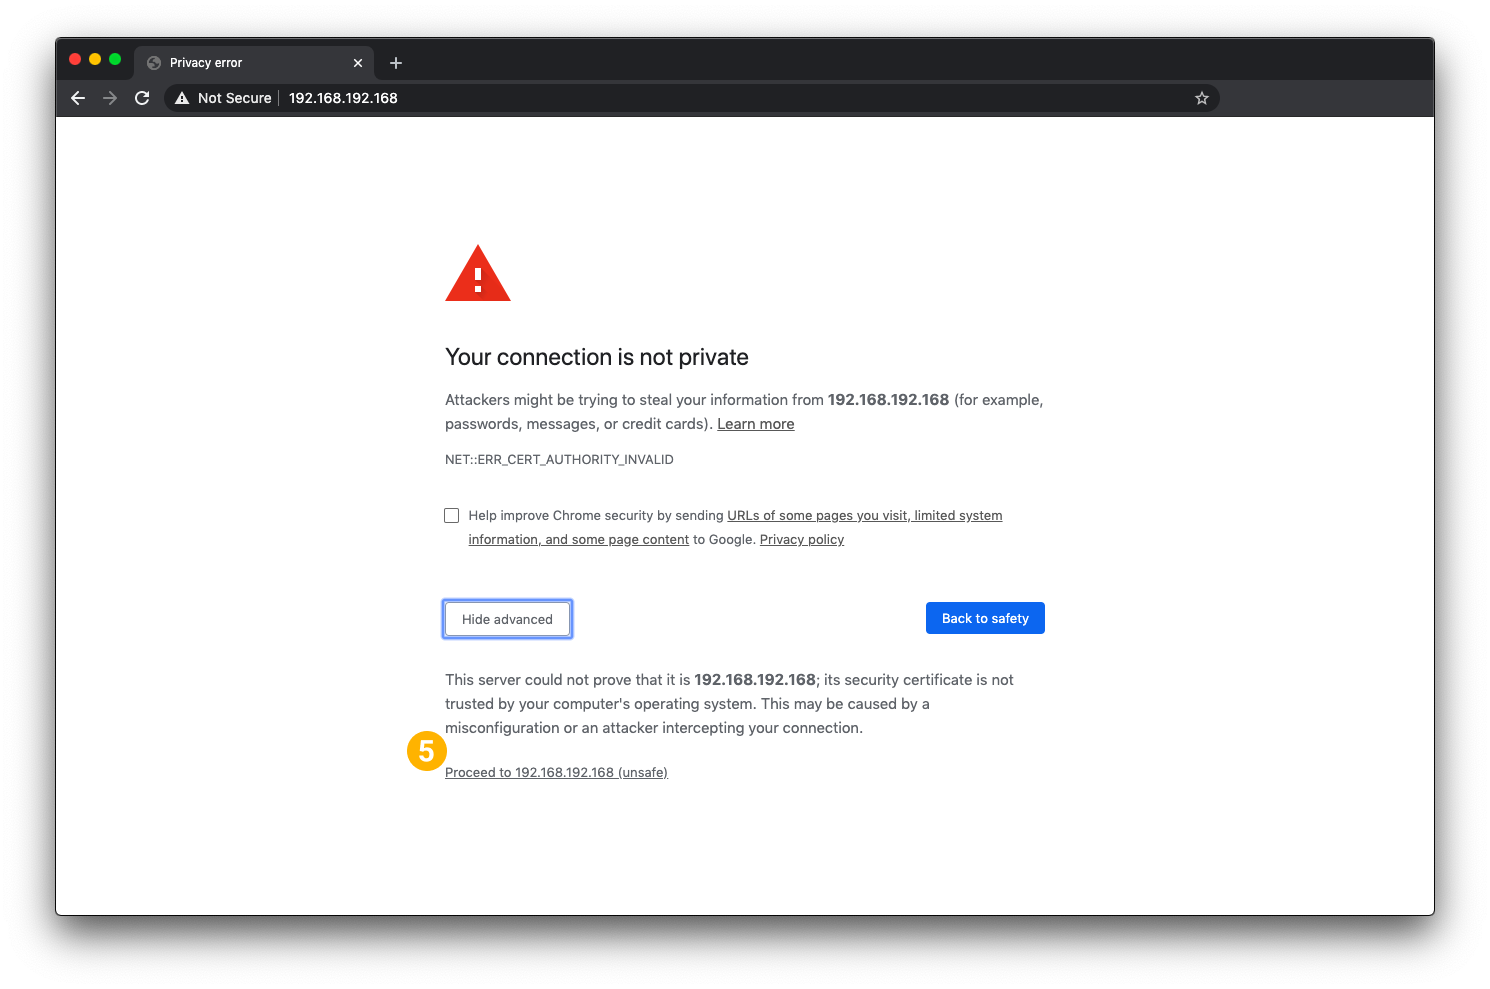
Should see a page with message “Your connection is not private”
Do not worry! This is expected!
Select Advanced from the bottom left
| 
|
| | |
Select Proceed to 192.168.192.168 (unsafe)
| 
|
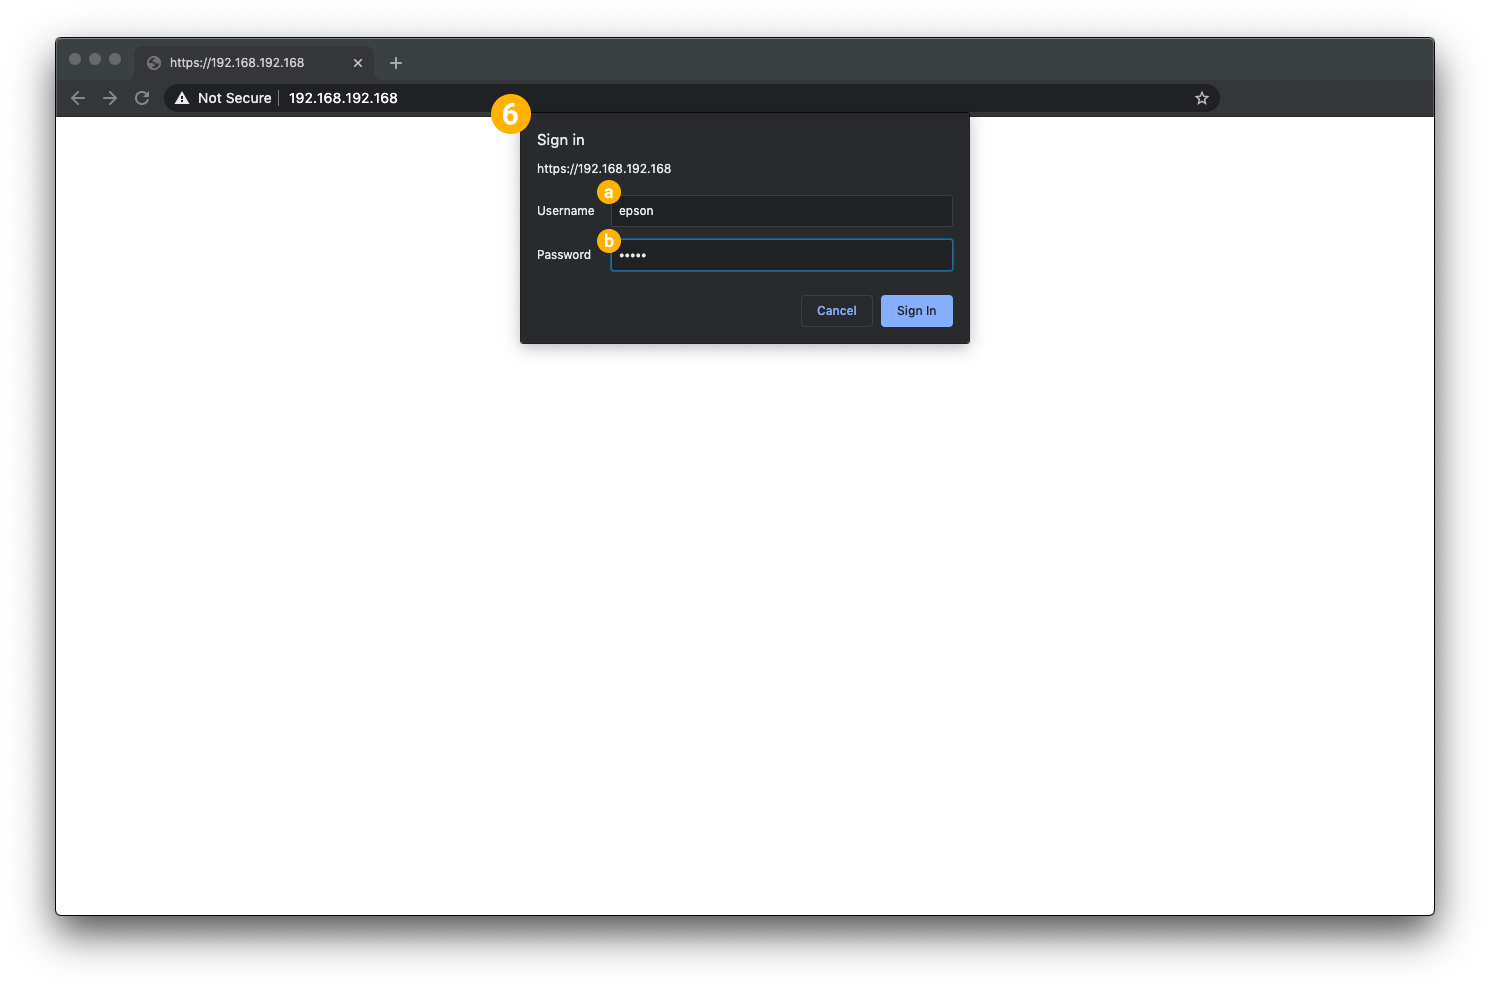
Enter into the Authentication Required or Sign In prompt:
Username: epson
Password: epson
On newer models the password is the serial number of the printer displayed on the sticker.
|  |
Welcome to the EpsonNet Config!
| 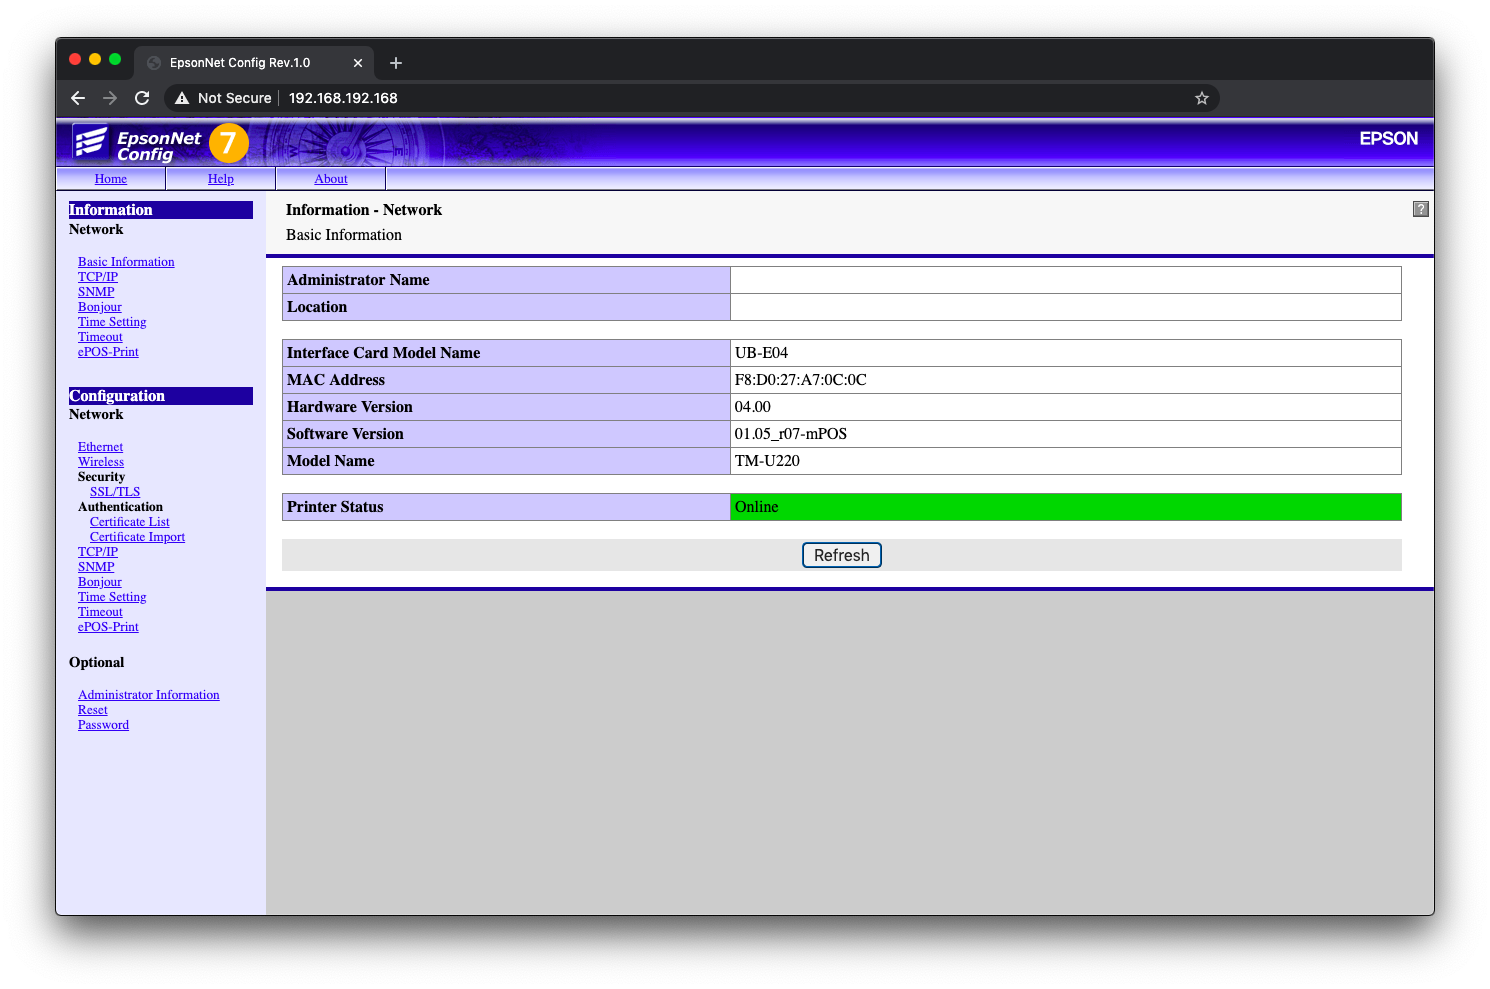 |
Under the Configuration header of the left navigation, select TCP/IP
|  |
Under IP Address Settings, Change Acquiring the IP Address to Manual
| 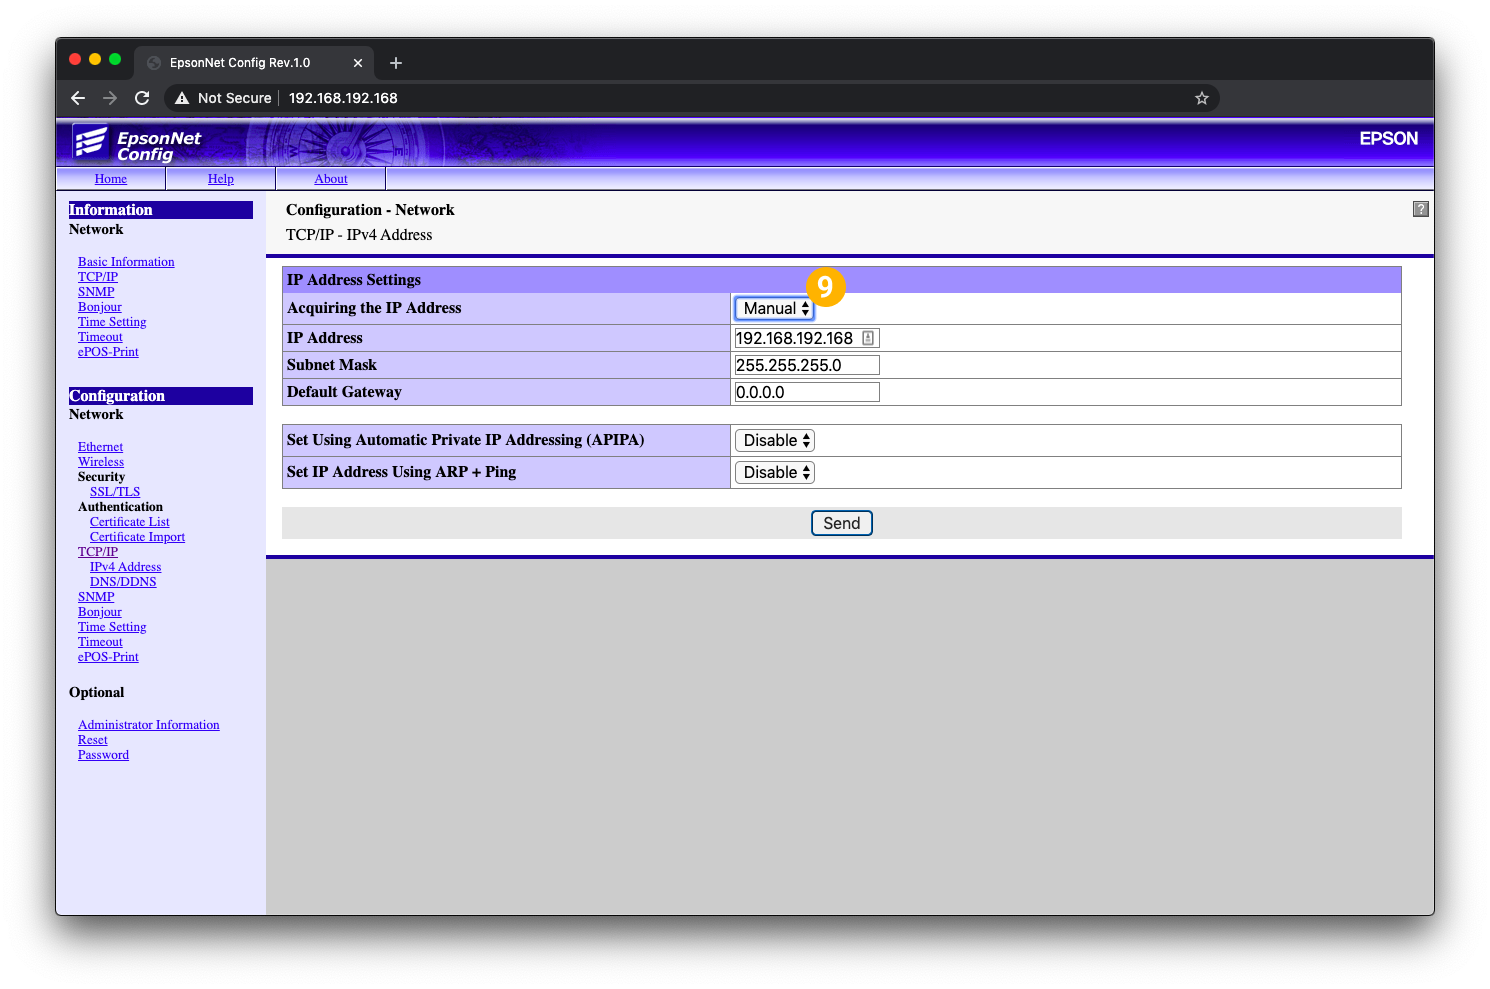 |
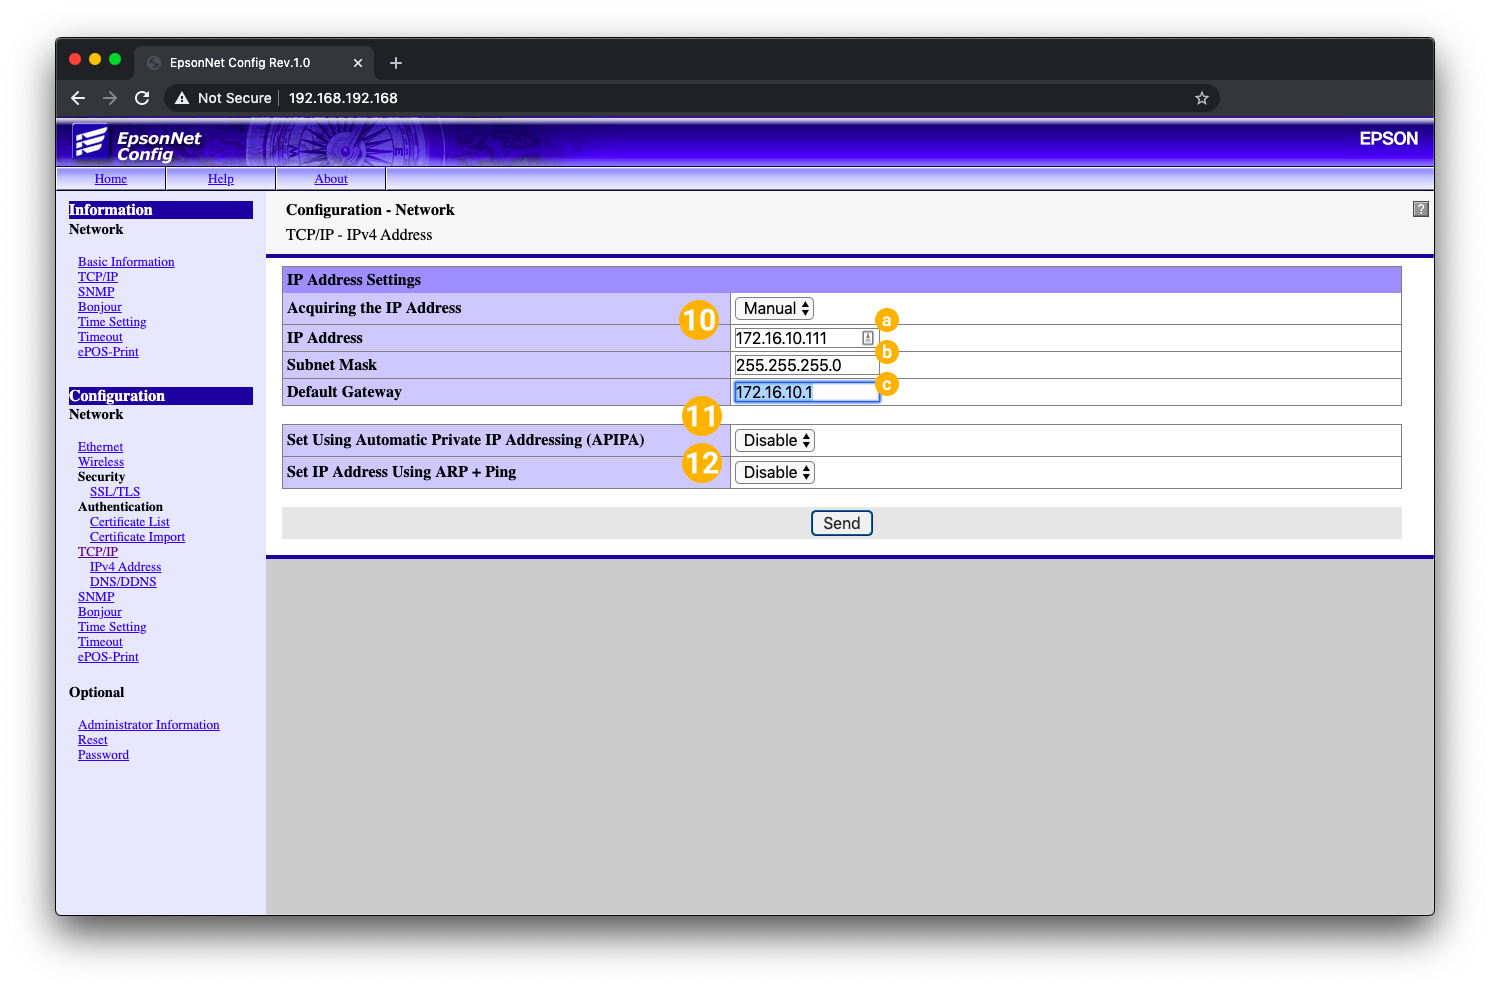
Enter the desired IP address for the printer
a. IP Address
b. Subnet Mask
c. Default Gateway - Set Using Automatic Private IP Addressing (APIPA) to Disabled
- Set IP Address Using ARP + Ping to Disabled
| 
|
Review IP information for accuracy - Select Send
| 
|
Select Reset (Printer should make a mechanical clunking sound)
| 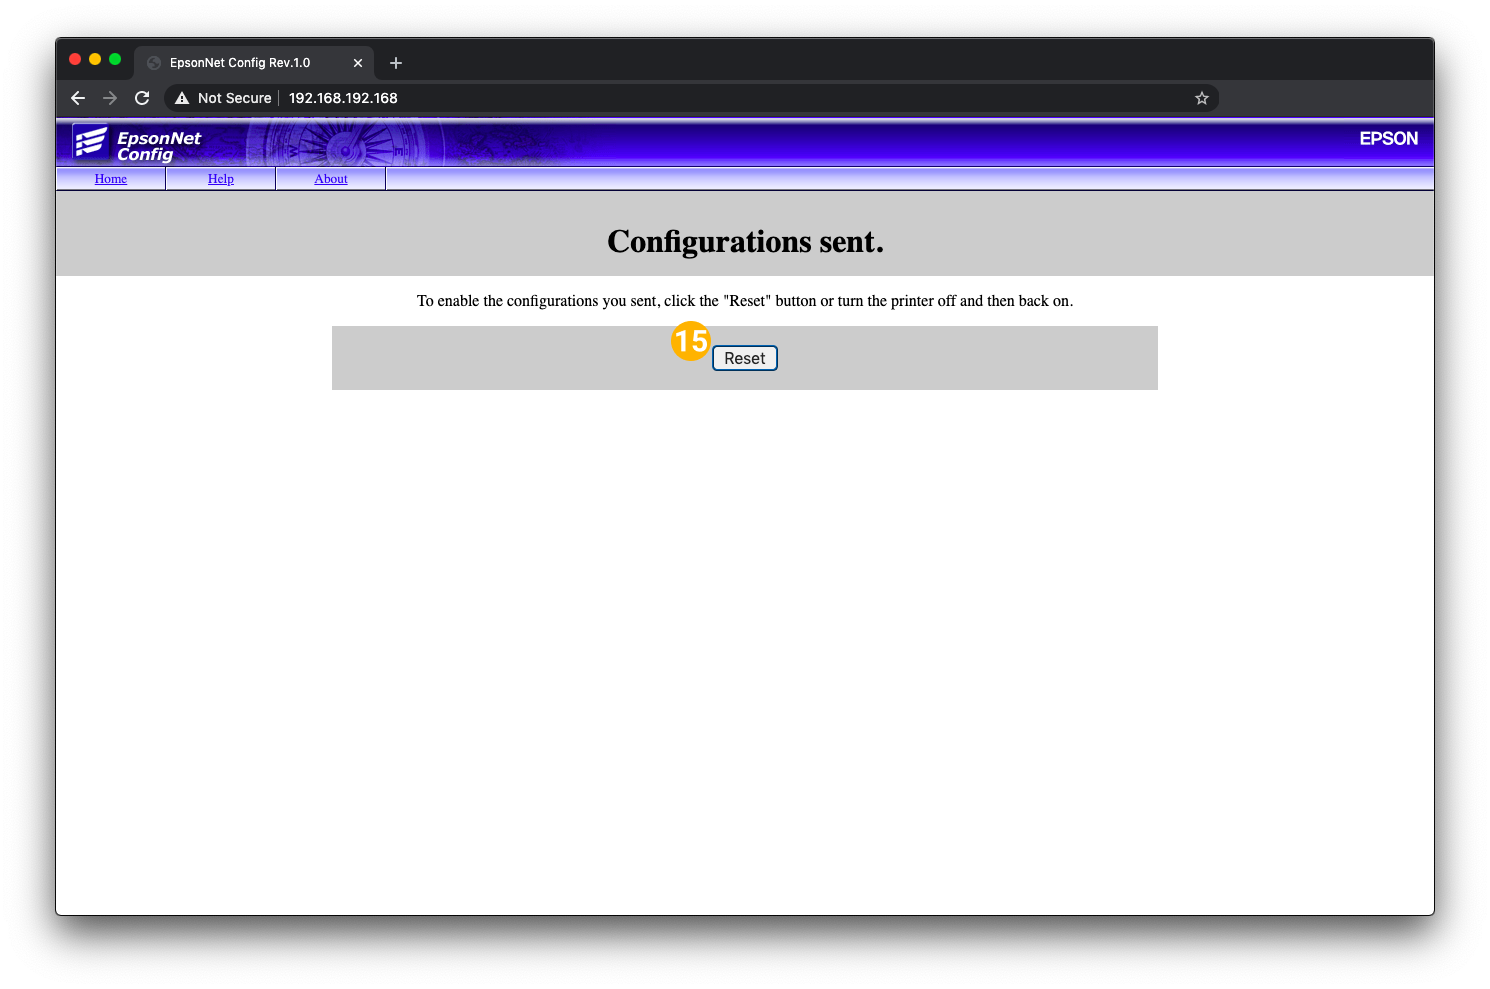 |
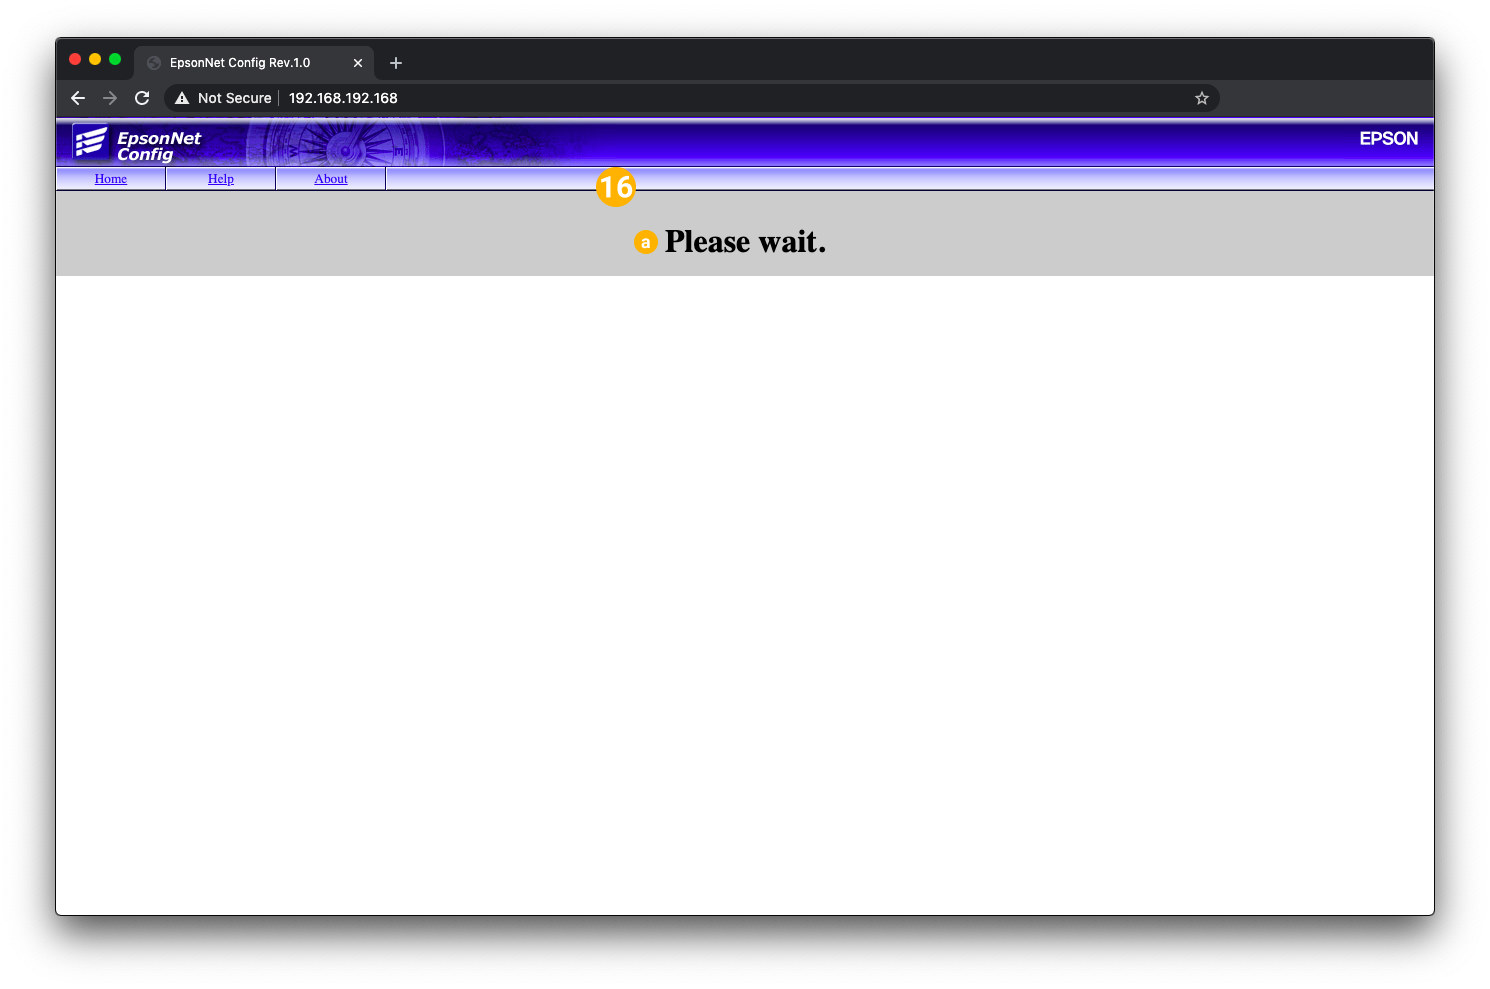
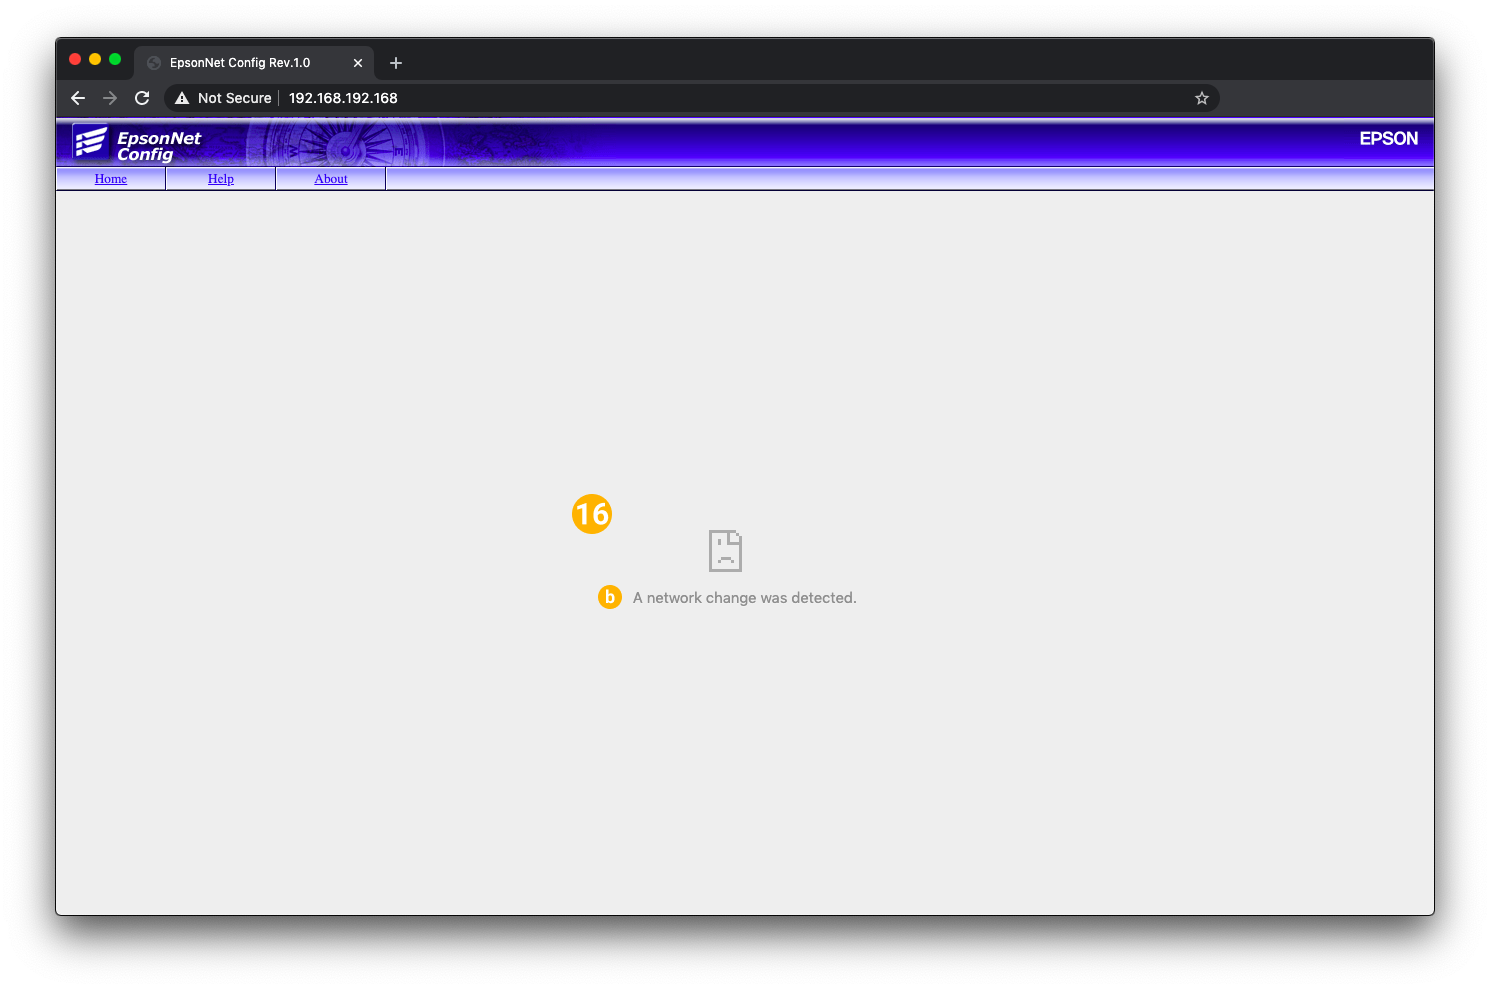
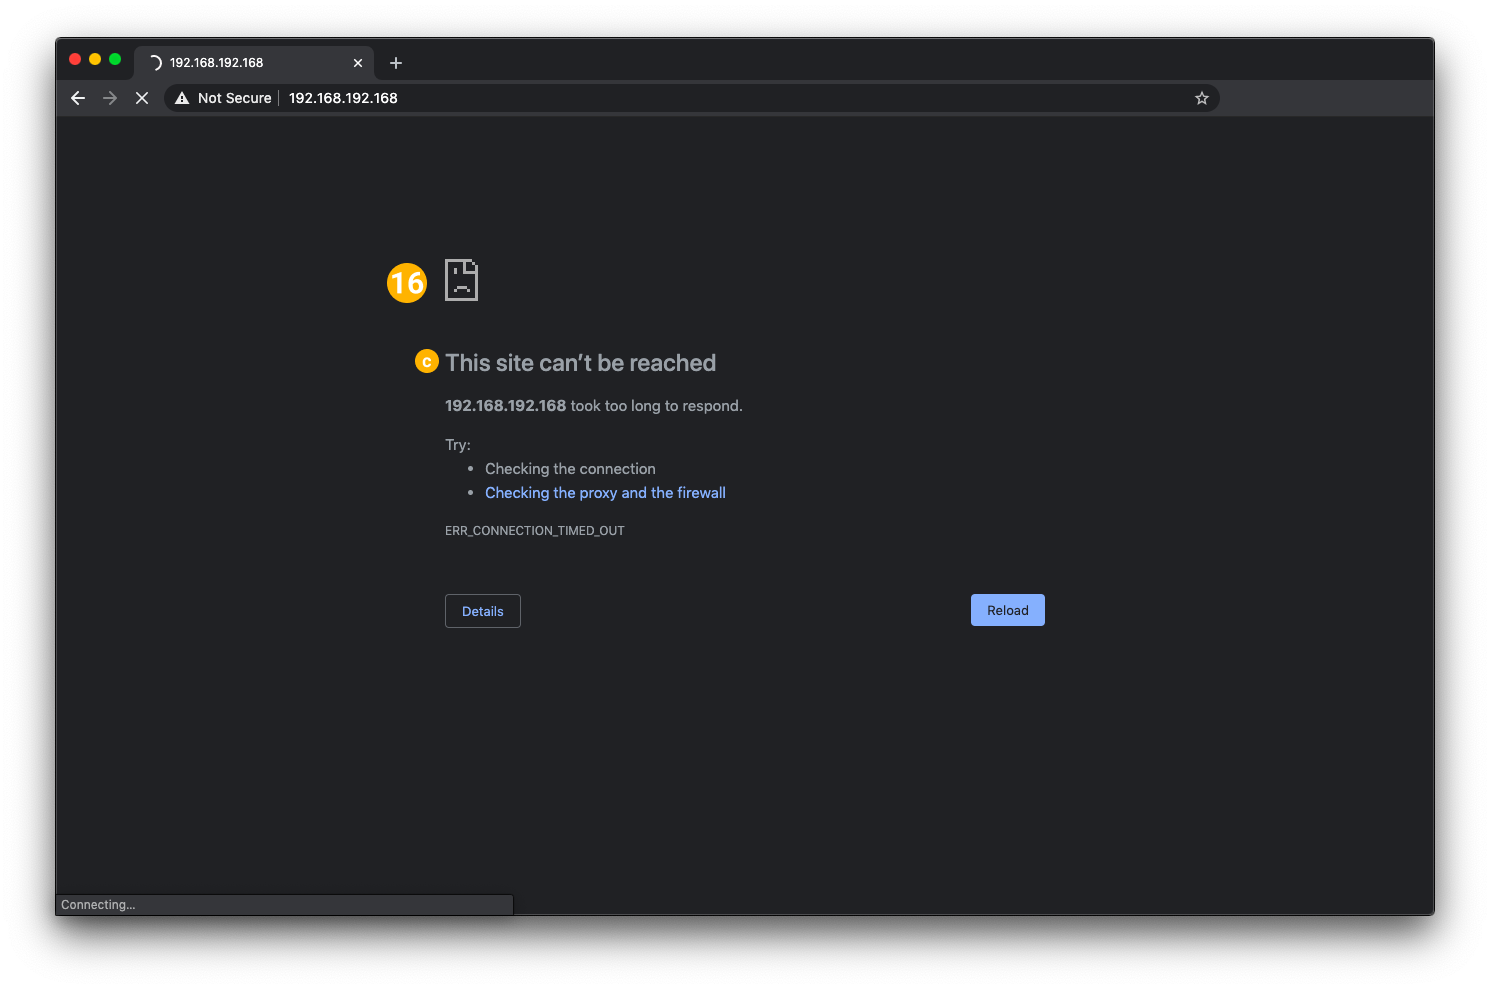
One or more of the following three pages may display. All are signs of success!
a. Please Wait
b. A network change was detected
c. This site can’t be reached
|  
|
Print a Network Status Sheet from the device using the Network Status Button on the underside of the printer (see above) to confirm the TCP/IP settings!
| |
Tips and Tricks
- Be patient and take your time!
- Watch for typos! IP addresses are an exact science!
- If the computer is not recognizing the printer after connecting the devices, try turning the printer off for 60 seconds and then back on.
- IMPORTANT! All devices on the same network must have IP addresses within the same IP scheme, and every device must have a unique address. For example, an IP scheme of 172.16.10.___ may be able to accommodate devices with addresses from 172.16.10.2 to 172.16.10.254, but if two devices have the same address, neither device will work.
- Every network is different. When in doubt, always contact your Network Management Team.